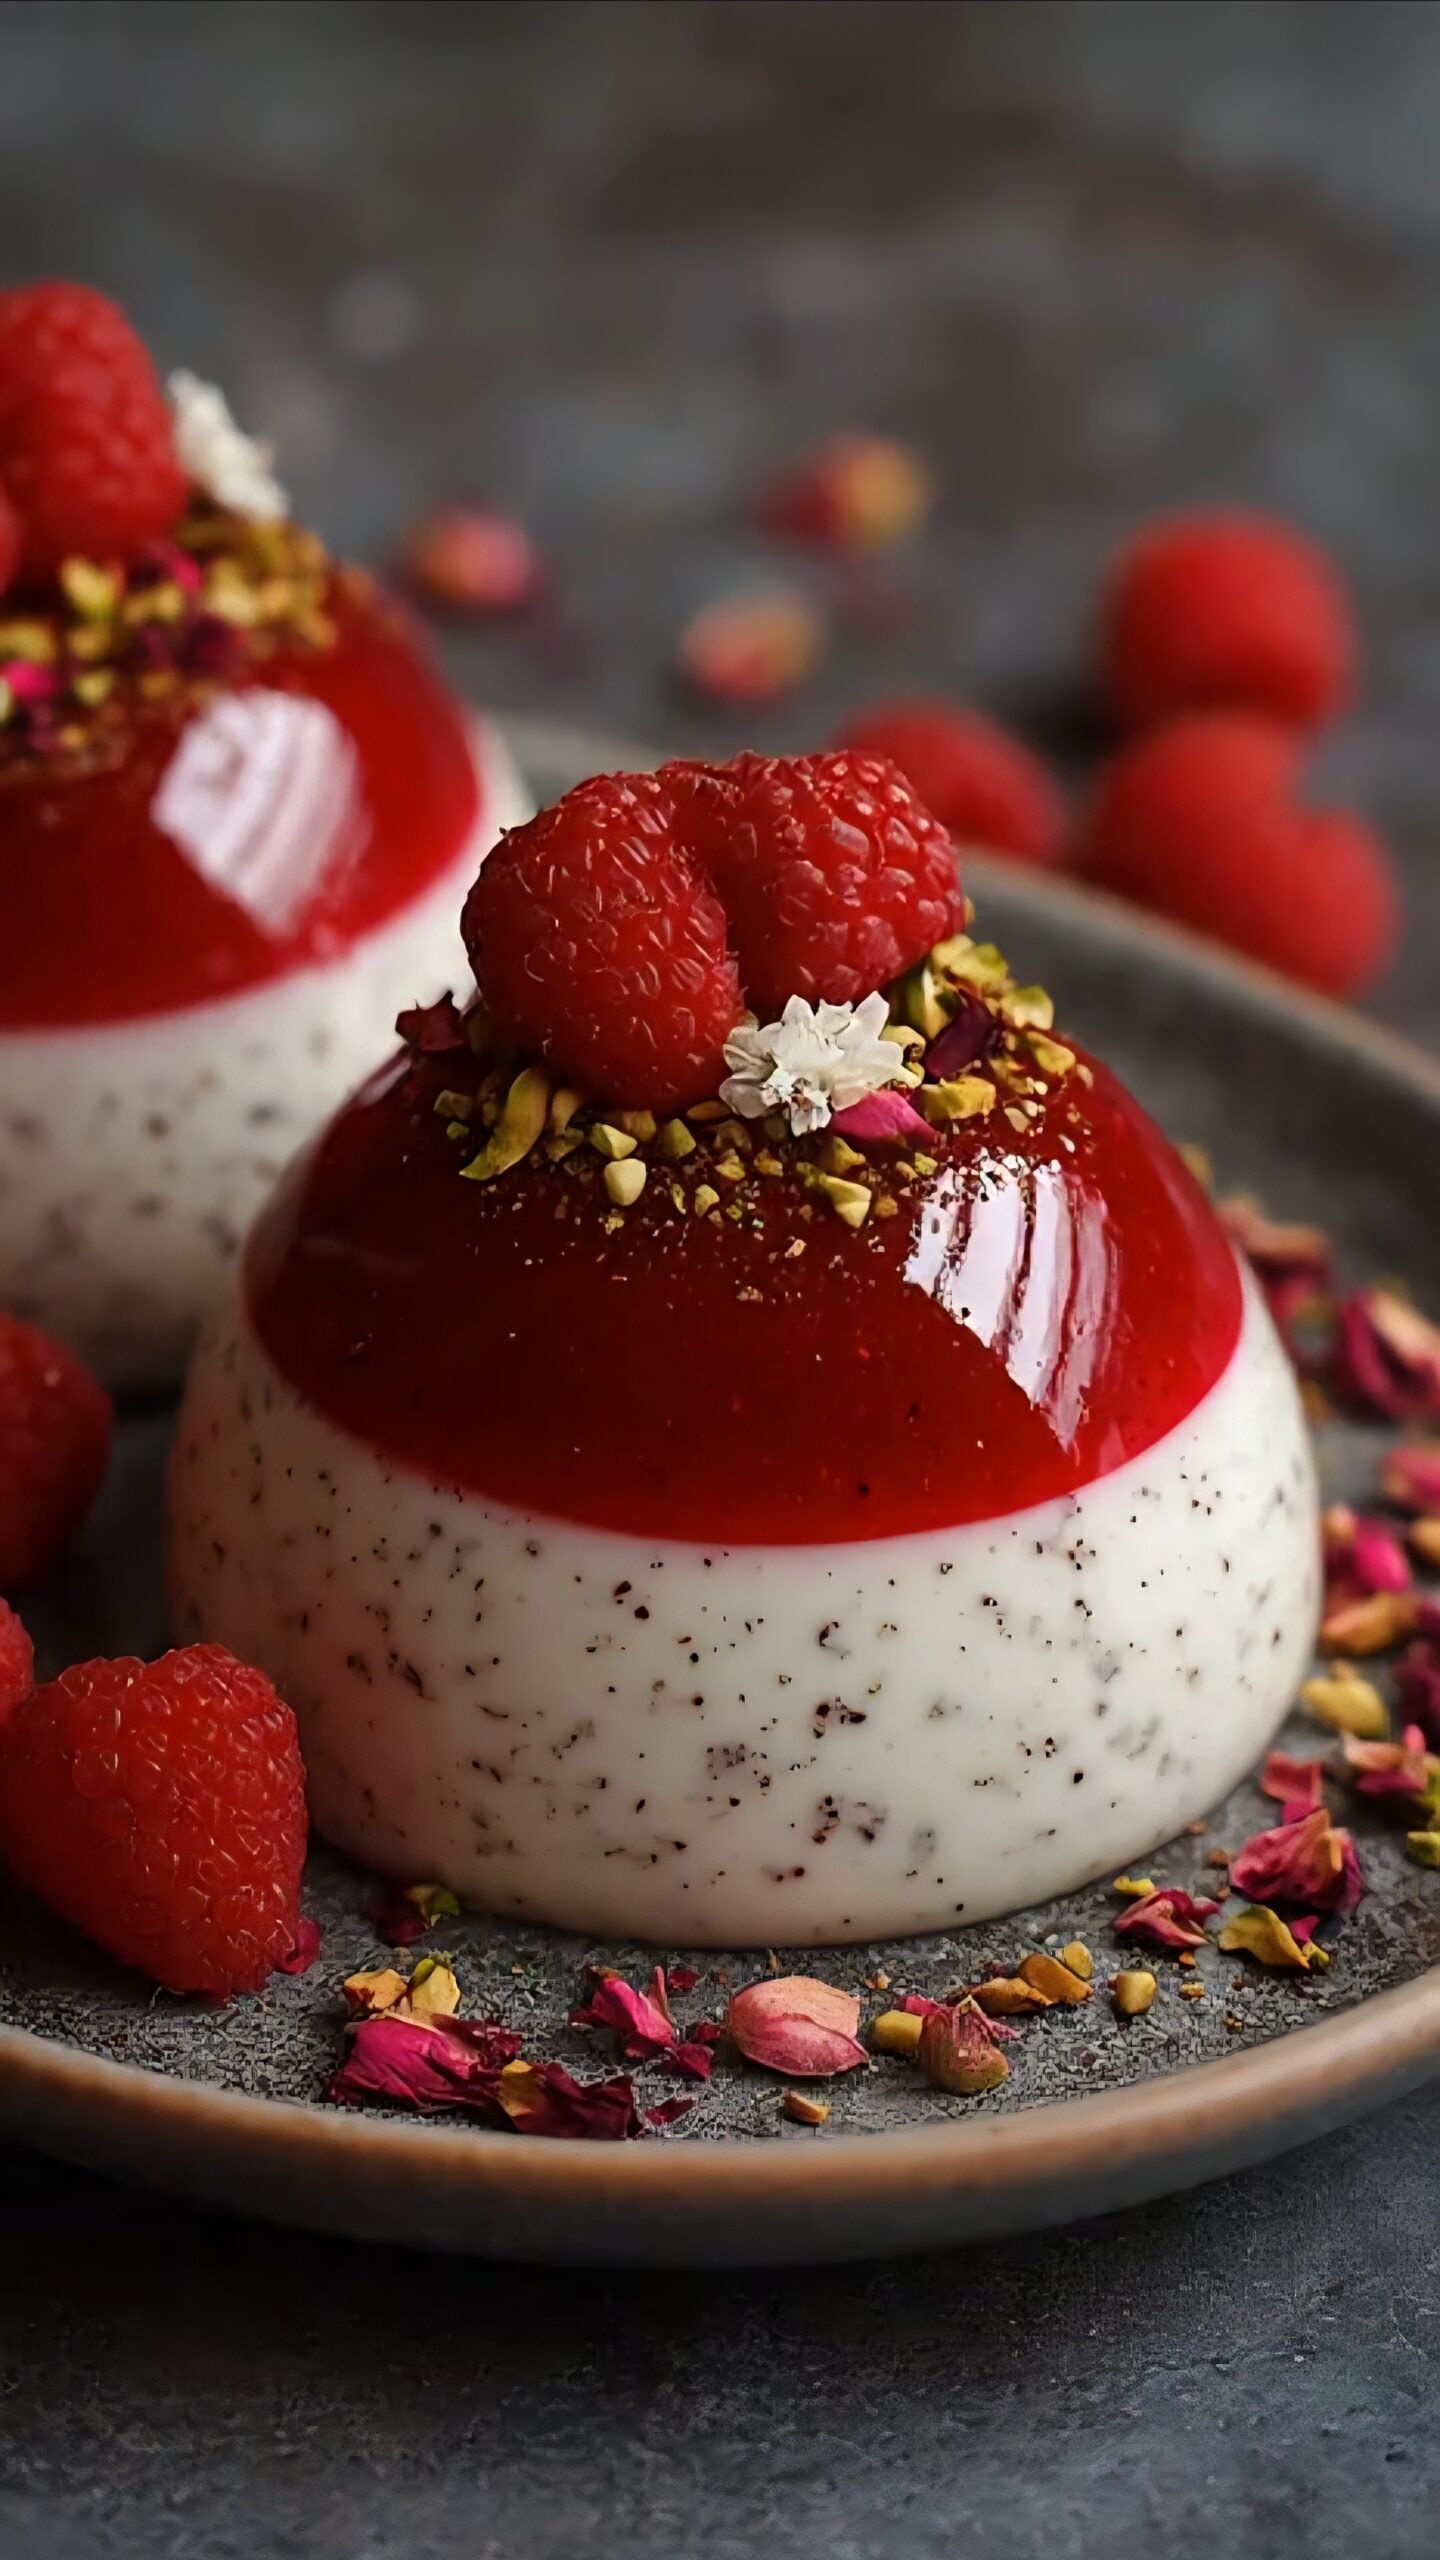
Create stunning, restaurant-quality Pistachio, Rose & Raspberry Panna Cotta Domes at home! This easy, step-by-step recipe is a show-stopping dessert that’s as delicious as it is beautiful.
Thank you for reading this post, don't forget to subscribe!There’s something truly magical about a dessert that looks like a work of art but is secretly simple to make. These Panna Cotta Domes are exactly that! A creamy, nutty pistachio and rose panna cotta is topped with a vibrant, tangy raspberry jelly and finished with an elegant garnish. They are the perfect show-stopping dessert for a dinner party, special occasion, or whenever you want to treat yourself.
Let’s create these beautiful, delicious domes together! 🍮
Why You’ll Love This Recipe
- 🌸 Elegant & Impressive: These domes look like they came from a professional patisserie.
- 🥣 Surprisingly Simple: No baking required, just a few key steps.
- 💚 Incredible Flavor Combo: The classic Middle Eastern trio of pistachio, rose, and raspberry is a match made in heaven.
- ⏲️ Make-Ahead Magic: Perfect for preparing a day in advance, making entertaining stress-free.

Ingredients You’ll Need
(Yields 6-8 domes, depending on your mold size)
For the Pistachio & Rose Panna Cotta Base:

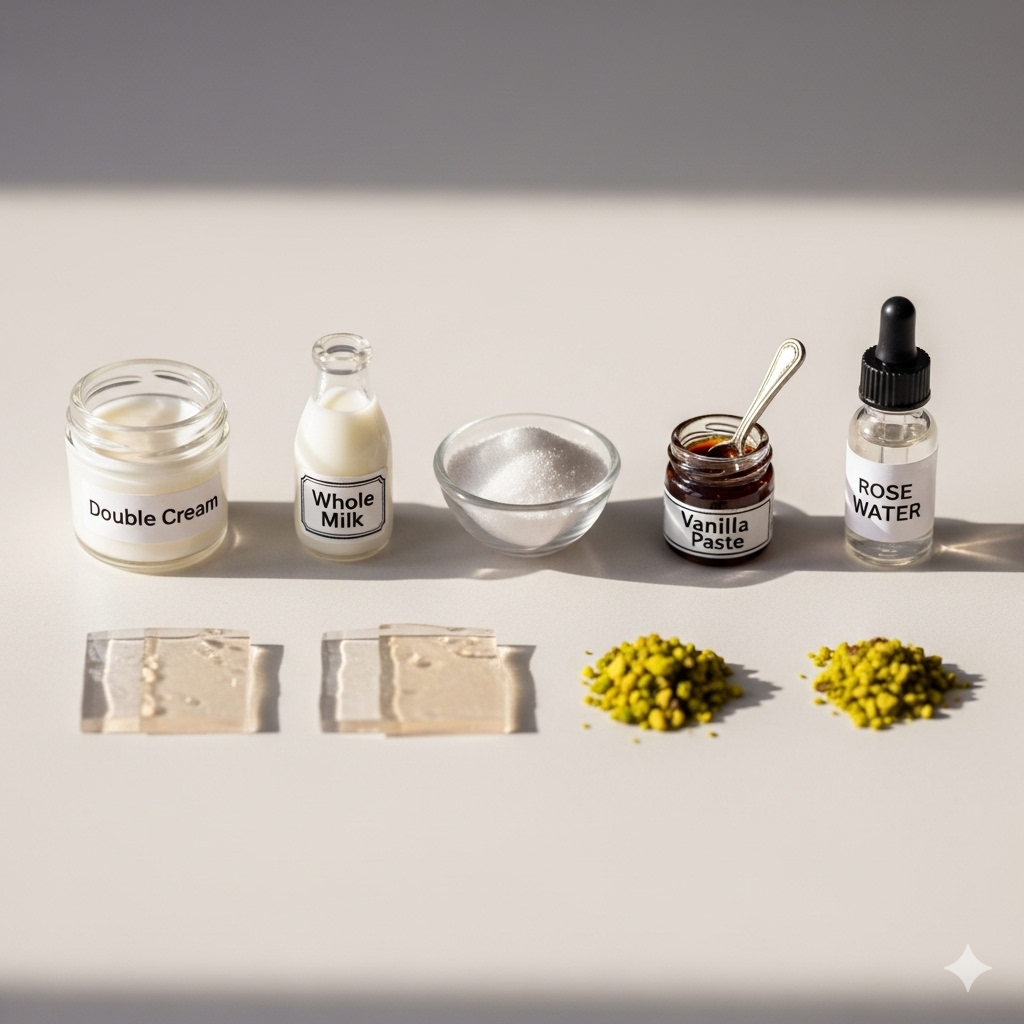
- 500 ml (about 2 cups) double cream (heavy cream)
- 120 ml (½ cup) whole milk
- 90 g (½ cup) granulated sugar
- 1 tsp vanilla paste or extract
- 3 gelatine sheets (or 7g powdered gelatine)
- 2 Tbsp finely chopped pistachios
- 1 tsp food-grade rose water
For the Raspberry Jelly Topping:
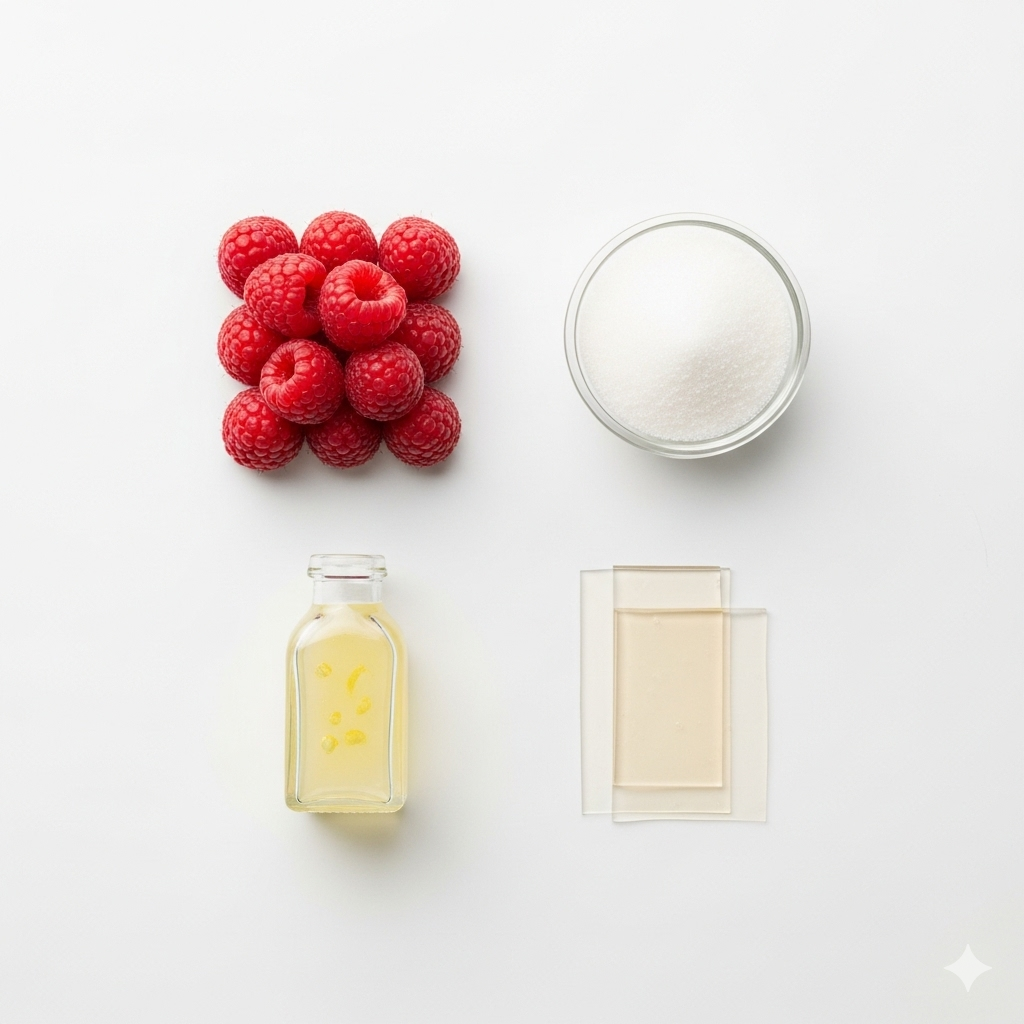
- 250 g fresh or frozen raspberries
- 60 g (¼ cup) granulated sugar
- 2 Tbsp lemon juice
- 2 gelatine sheets (or 5g powdered gelatine)
For the Garnish:
- Fresh raspberries
- Chopped pistachios
- Edible dried rose petals
- Tiny edible flowers (optional, but gorgeous!)
Step-by-Step Instructions
Step 1: Prepare the Gelatine ☀️
This first step is crucial for both layers.
- If using gelatine sheets: Place them in a bowl of cold water for 5-10 minutes until soft and floppy.
- If using powdered gelatine: Sprinkle the powder over 3 tablespoons of cold water in a small bowl and let it sit for 5 minutes to “bloom.”
Step 2: Make the Pistachio & Rose Panna Cotta 💚
- Warm the Base: In a medium saucepan, combine the double cream, milk, sugar, and vanilla. Heat gently over medium-low heat, stirring continuously, until the sugar has completely dissolved. Do not let it boil.
- Incorporate Gelatine: Remove the pan from the heat. Squeeze any excess water from the bloomed gelatine sheets (or add the bloomed powdered gelatine) and stir it into the warm cream mixture until it has fully dissolved and no streaks remain.
- Add Flavor: Stir in the rose water and the finely chopped pistachios.
- Fill Molds: Carefully pour the mixture into your silicone dome molds, filling each one about ¾ of the way full. This leaves the perfect amount of space for the raspberry jelly layer.
- Chill: Carefully transfer the molds to the fridge and let them set for 4-5 hours, or overnight, until completely firm.
Step 3: Create the Raspberry Jelly Layer 🔴
- Cook the Raspberries: In a small saucepan, combine the raspberries, sugar, and lemon juice. Cook over medium heat for 5-7 minutes, mashing the berries with a spoon, until they have broken down and become soft and juicy.
- Strain the Seeds: Place a fine-mesh sieve over a bowl and pour the raspberry mixture through it. Use the back of a spoon to press all the liquid and pulp through, leaving the seeds behind. You should have a smooth, seedless purée.
- Add Gelatine: Stir the bloomed gelatine (prepared the same way as in Step 1) into the warm raspberry purée until it dissolves completely.
- Cool & Top: Allow the raspberry mixture to cool for about 10-15 minutes so it’s not piping hot. Then, gently pour a thin layer on top of the fully set panna cotta in the molds.
- Chill Again: Return the molds to the fridge for another 2-3 hours until the raspberry layer is firm.
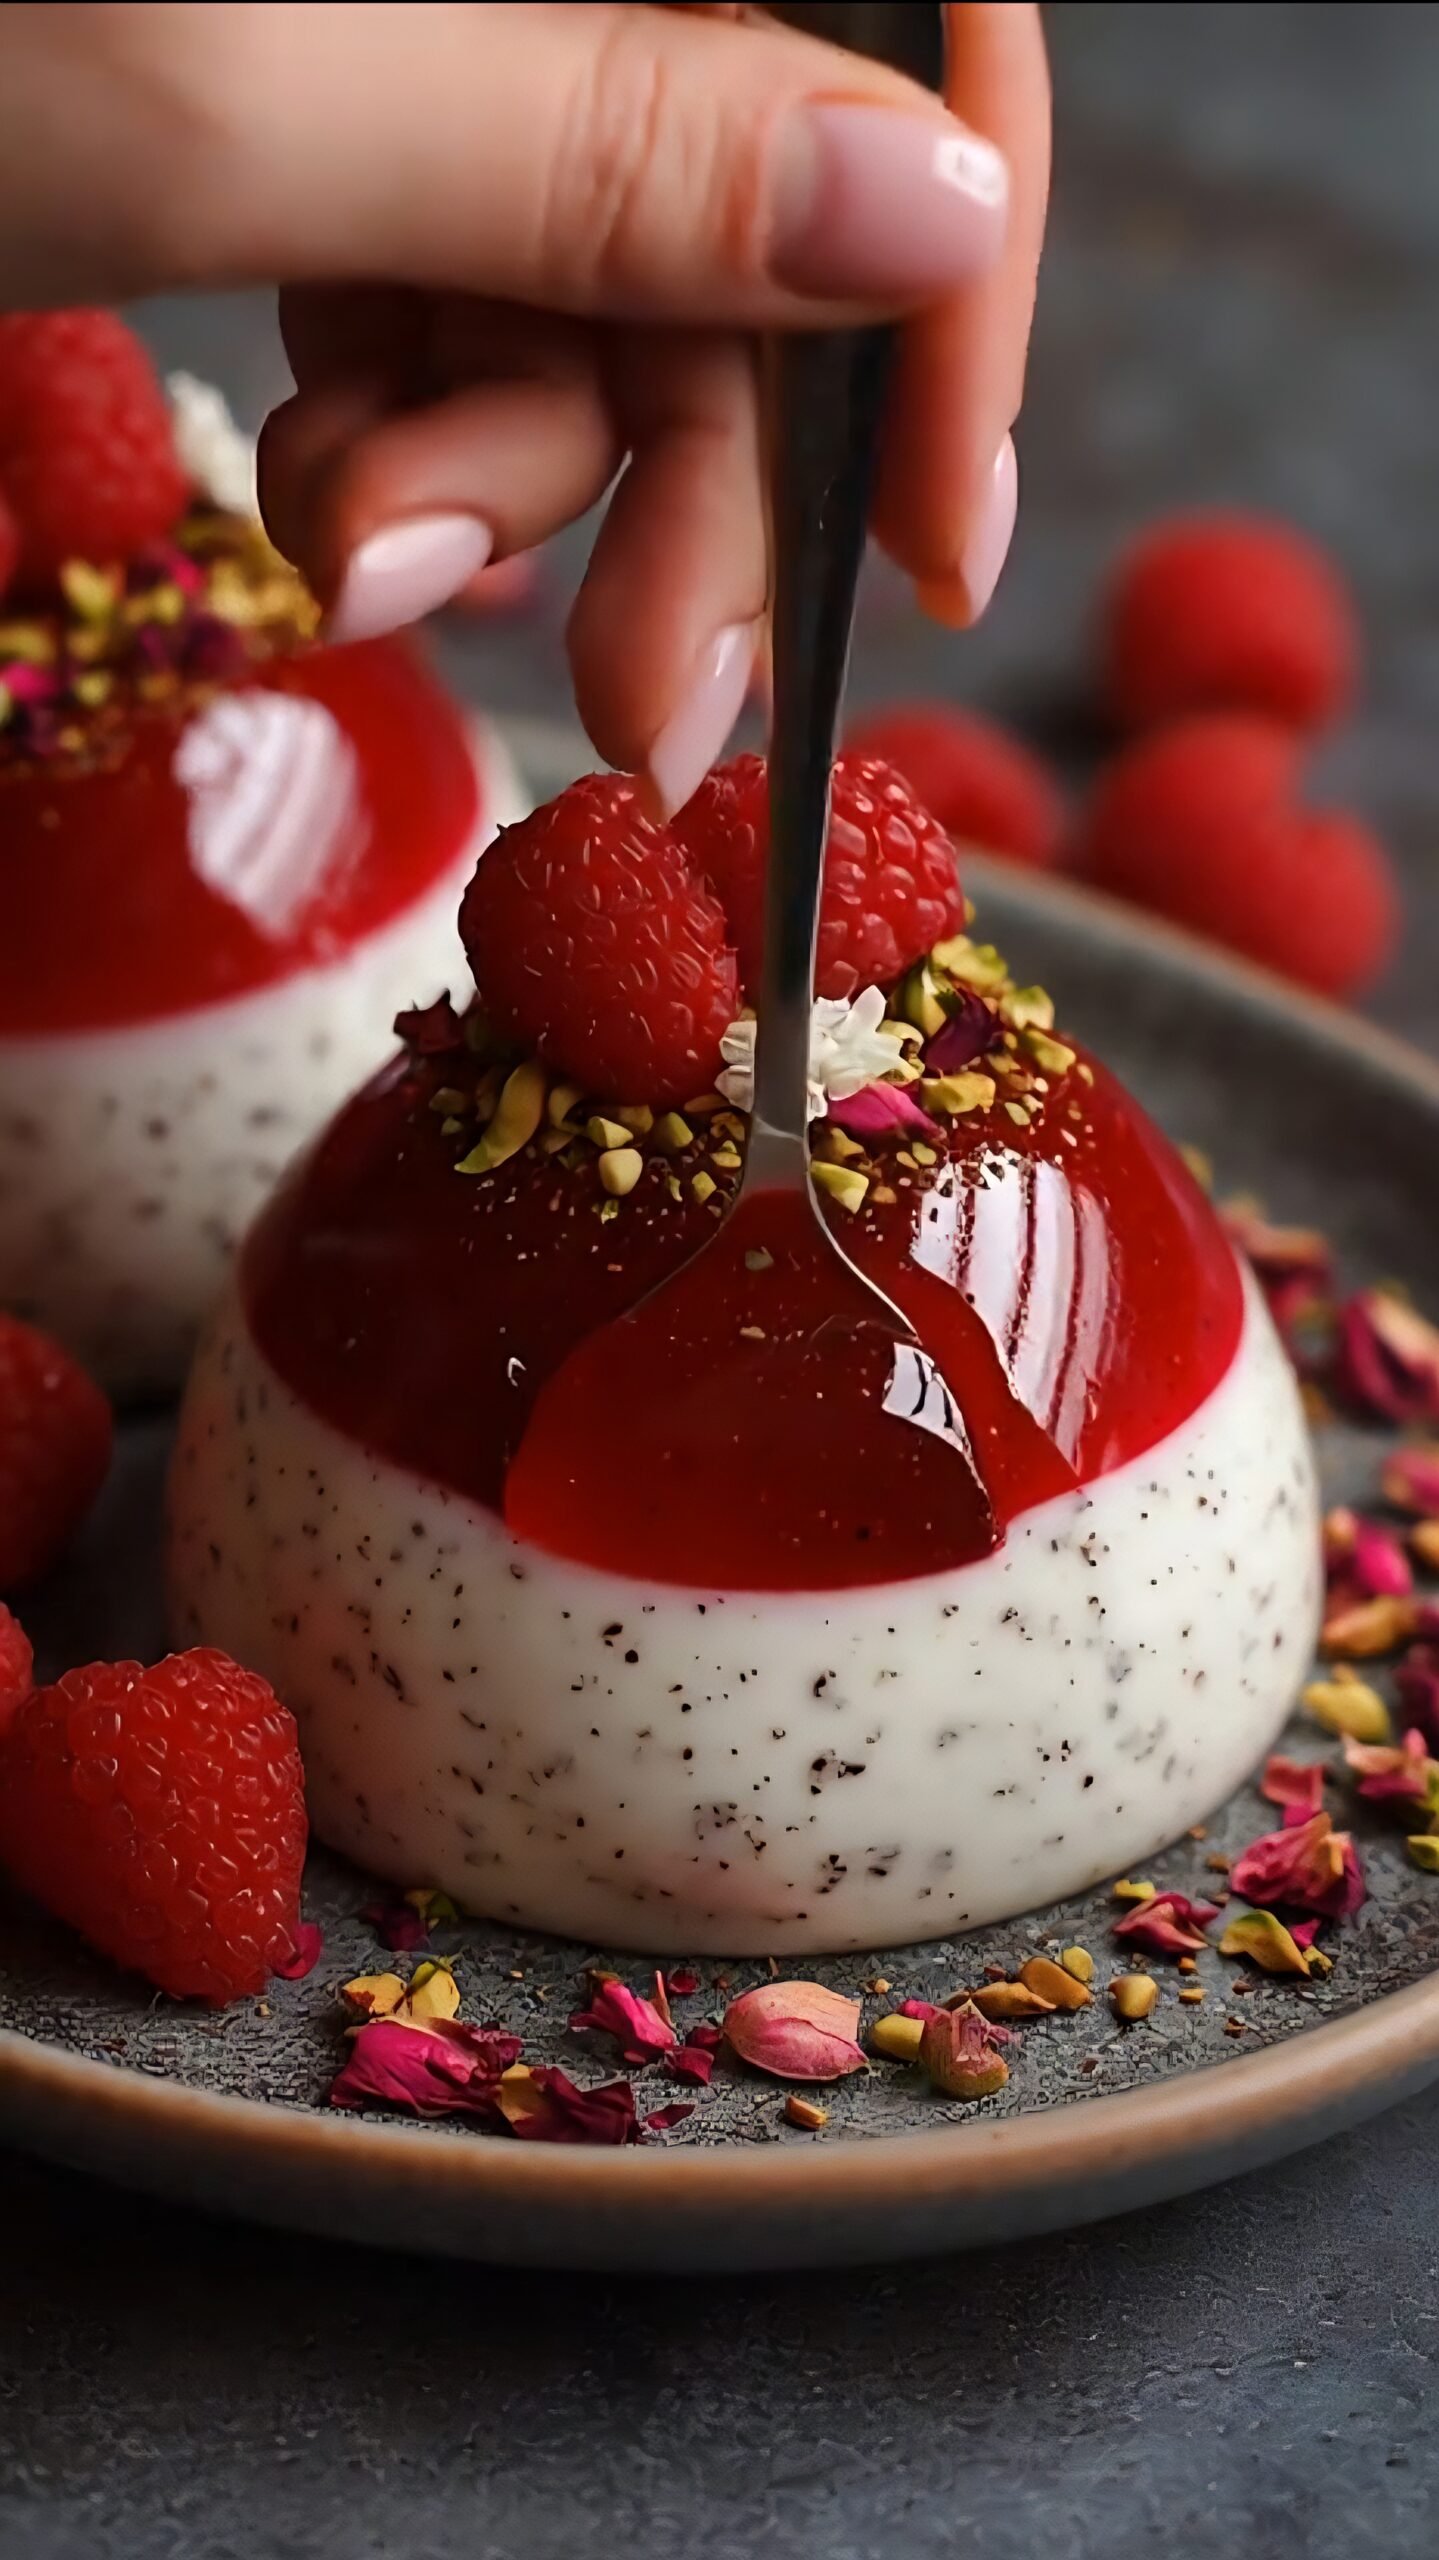
Step 4: Unmold and Decorate Like a Pro 🎨
- The Big Reveal: To unmold, gently pull the edges of the silicone mold away from each dome. Then, turn the mold over and gently push the bottom of each cavity to release the panna cotta onto your serving plates. If they’re being stubborn, you can briefly dip the bottom of the mold in warm water to help loosen them.
- Garnish: Now for the fun part! Decorate each dome with fresh raspberries, a sprinkle of chopped pistachios, a few delicate edible dried rose petals, and a tiny flower if you’re using them.
Chef’s Tips & Tricks
- Taste as You Go: Rose water can vary in strength. After adding it to the cream, give it a taste and add a tiny bit more if you want a more pronounced floral note.
- Smooth Sailing: For an ultra-smooth panna cotta, you can strain the cream mixture through a sieve after adding the gelatine to catch any undissolved bits before adding the pistachios.
- Perfect Set: Ensure each layer is completely set before adding the next. Rushing this process can cause the layers to mix.
- Make it Vegetarian: Agar-agar can be used as a vegetarian substitute for gelatine, but the measurements and method will differ, so follow a reliable agar-agar conversion guide.
There you have it! These stunning Pistachio, Rose & Raspberry Panna Cotta Domes are sure to dazzle your guests and delight your taste buds. Enjoy the process and the delicious results!
Did you make this recipe? Share your beautiful creations with me on social media by tagging me! I love seeing your masterpieces! ❤️