Looking to preserve your garden harvest or simply add tangy, flavorful vegetables to your meals? This comprehensive guide covers everything you need to know about pickling and marinating, complete with 6 delicious recipes that anyone can master.
Thank you for reading this post, don’t forget to subscribe!🌿 Why Pickling & Marinating Are Worth Your Time
In 2026, home food preservation has experienced a remarkable revival, and for good reason! Pickled and marinated vegetables aren’t just trendy—they’re packed with health benefits and offer an economical way to reduce food waste.
According to Harvard Health, fermented and pickled foods can strengthen your gut microbiome, improve digestion, and support overall wellness. Plus, they’re incredibly easy to make at home!
The Key Differences: Pickling vs. Marinating
Before we dive into recipes, let’s clarify the basics:
Pickling is a preservation method that uses acid (typically vinegar) or salt brine to extend shelf life for weeks or months. The goal is long-term storage and food safety.
Marinating focuses on flavoring food with acid, oil, and aromatics. While it adds flavor and can tenderize ingredients, marination is typically shorter-term (hours to days rather than weeks).
Both methods create delicious, versatile ingredients that elevate everyday meals! ✨
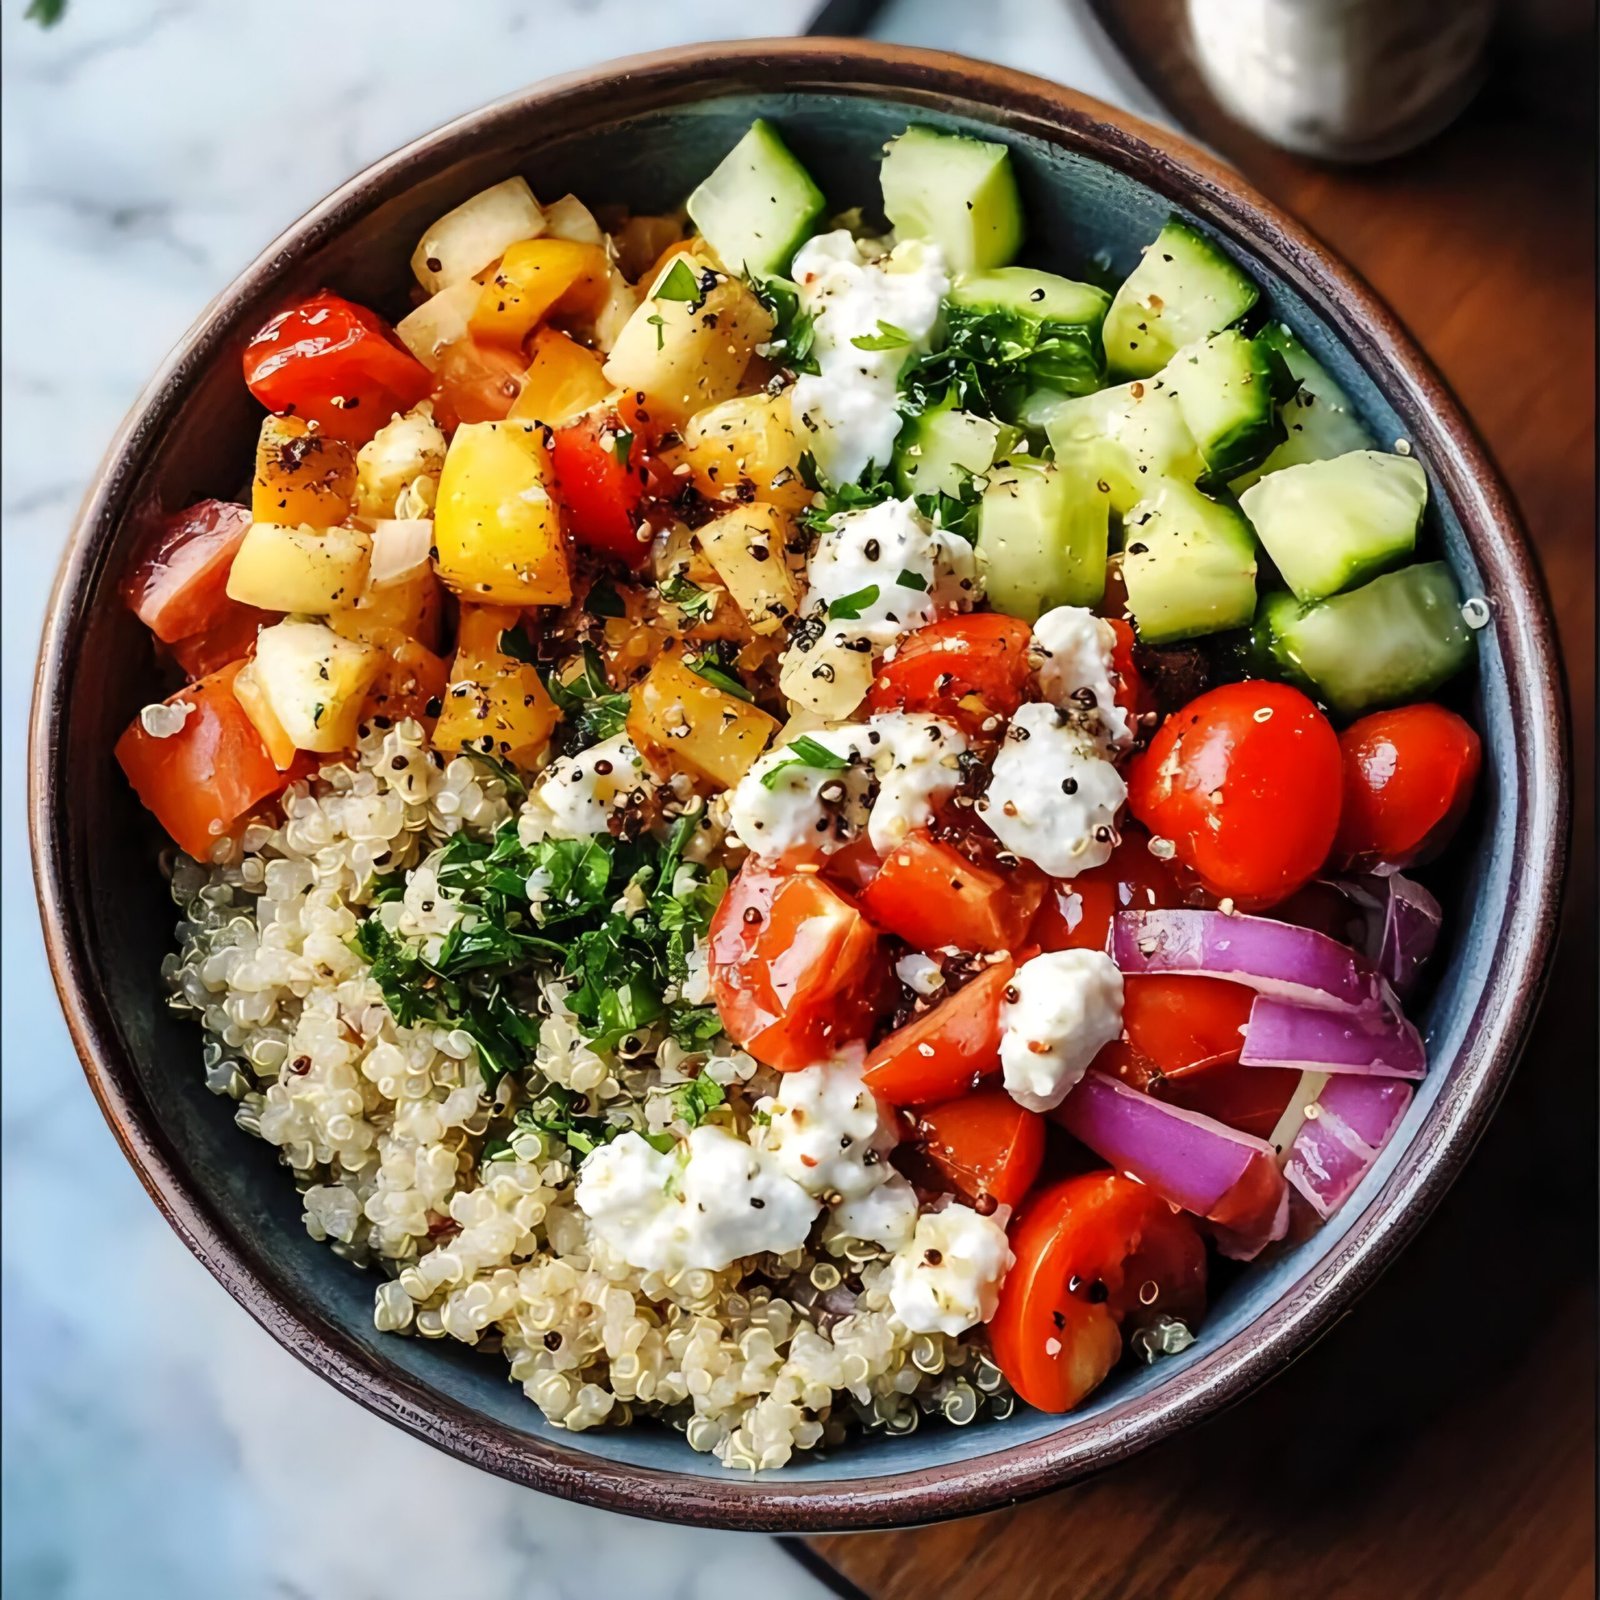
🥒 Classic Pickled Cherry Tomatoes with Red Onions & Cucumbers
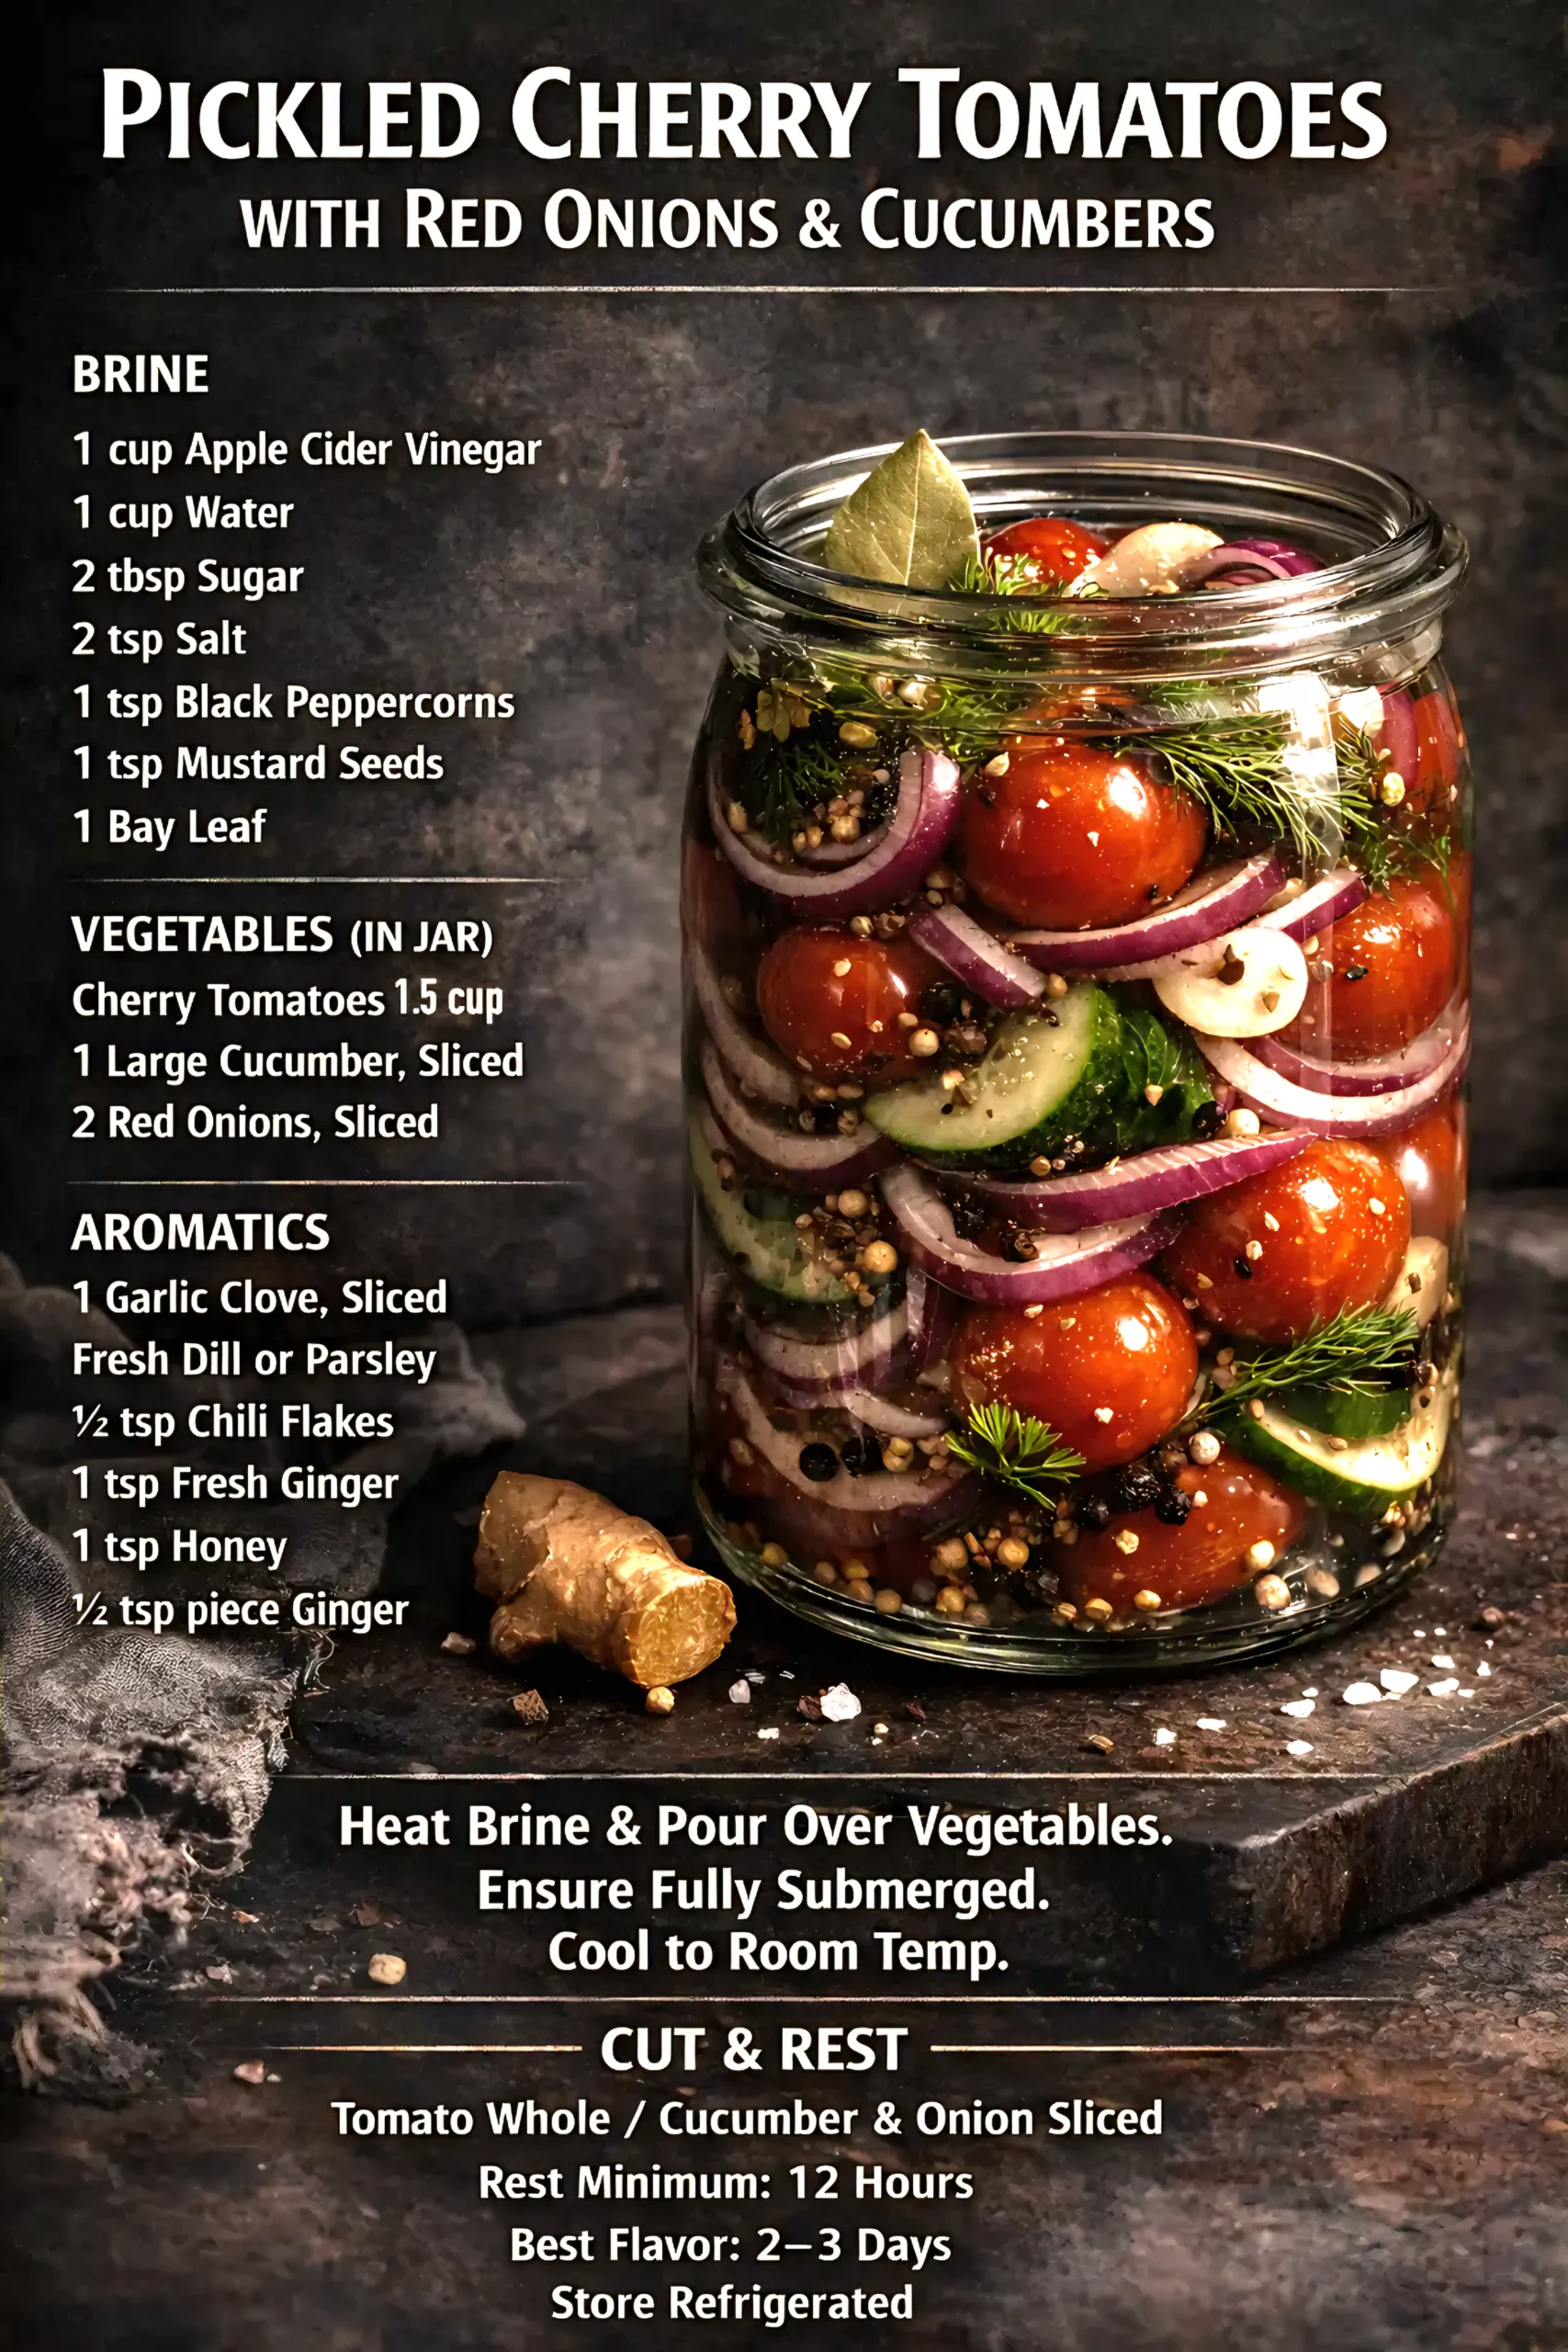
This vibrant recipe is perfect for using up summer produce and creates a stunning addition to salads, sandwiches, or charcuterie boards.
🥫 Ingredients
Brine:
- 1 cup Apple Cider Vinegar
- 1 cup Water
- 2 tbsp Sugar
- 2 tsp Salt
- 1 tsp Black Peppercorns
- 1 tsp Mustard Seeds
- 1 Bay Leaf
Vegetables:
- 1.5 cups Cherry Tomatoes
- 1 Large Cucumber, Sliced
- 2 Red Onions, Sliced
Aromatics:
- 1 Garlic Clove, Sliced
- Fresh Dill or Parsley
- ½ tsp Chili Flakes
- 1 tsp Fresh Ginger
- 1 tsp Honey
- ½ tsp Fresh Ginger Piece
👩🍳 Method
- Prepare the brine: Combine vinegar, water, sugar, salt, and spices in a saucepan. Heat until sugar and salt dissolve completely.
- Pack the jar: Layer cherry tomatoes, cucumber slices, and red onion rings in a clean jar. Add garlic, herbs, and aromatics between layers.
- Pour and seal: Pour the hot brine over vegetables, ensuring they’re fully submerged. Let cool to room temperature.
- Rest and refrigerate: Allow minimum 12 hours for flavors to develop. For best results, wait 2-3 days before eating. Store refrigerated.
💡 Pro Tip: These pickles become more flavorful over time and can last up to 3 months in the refrigerator!
🍄 Recipe #2: Easy Marinated Mushrooms
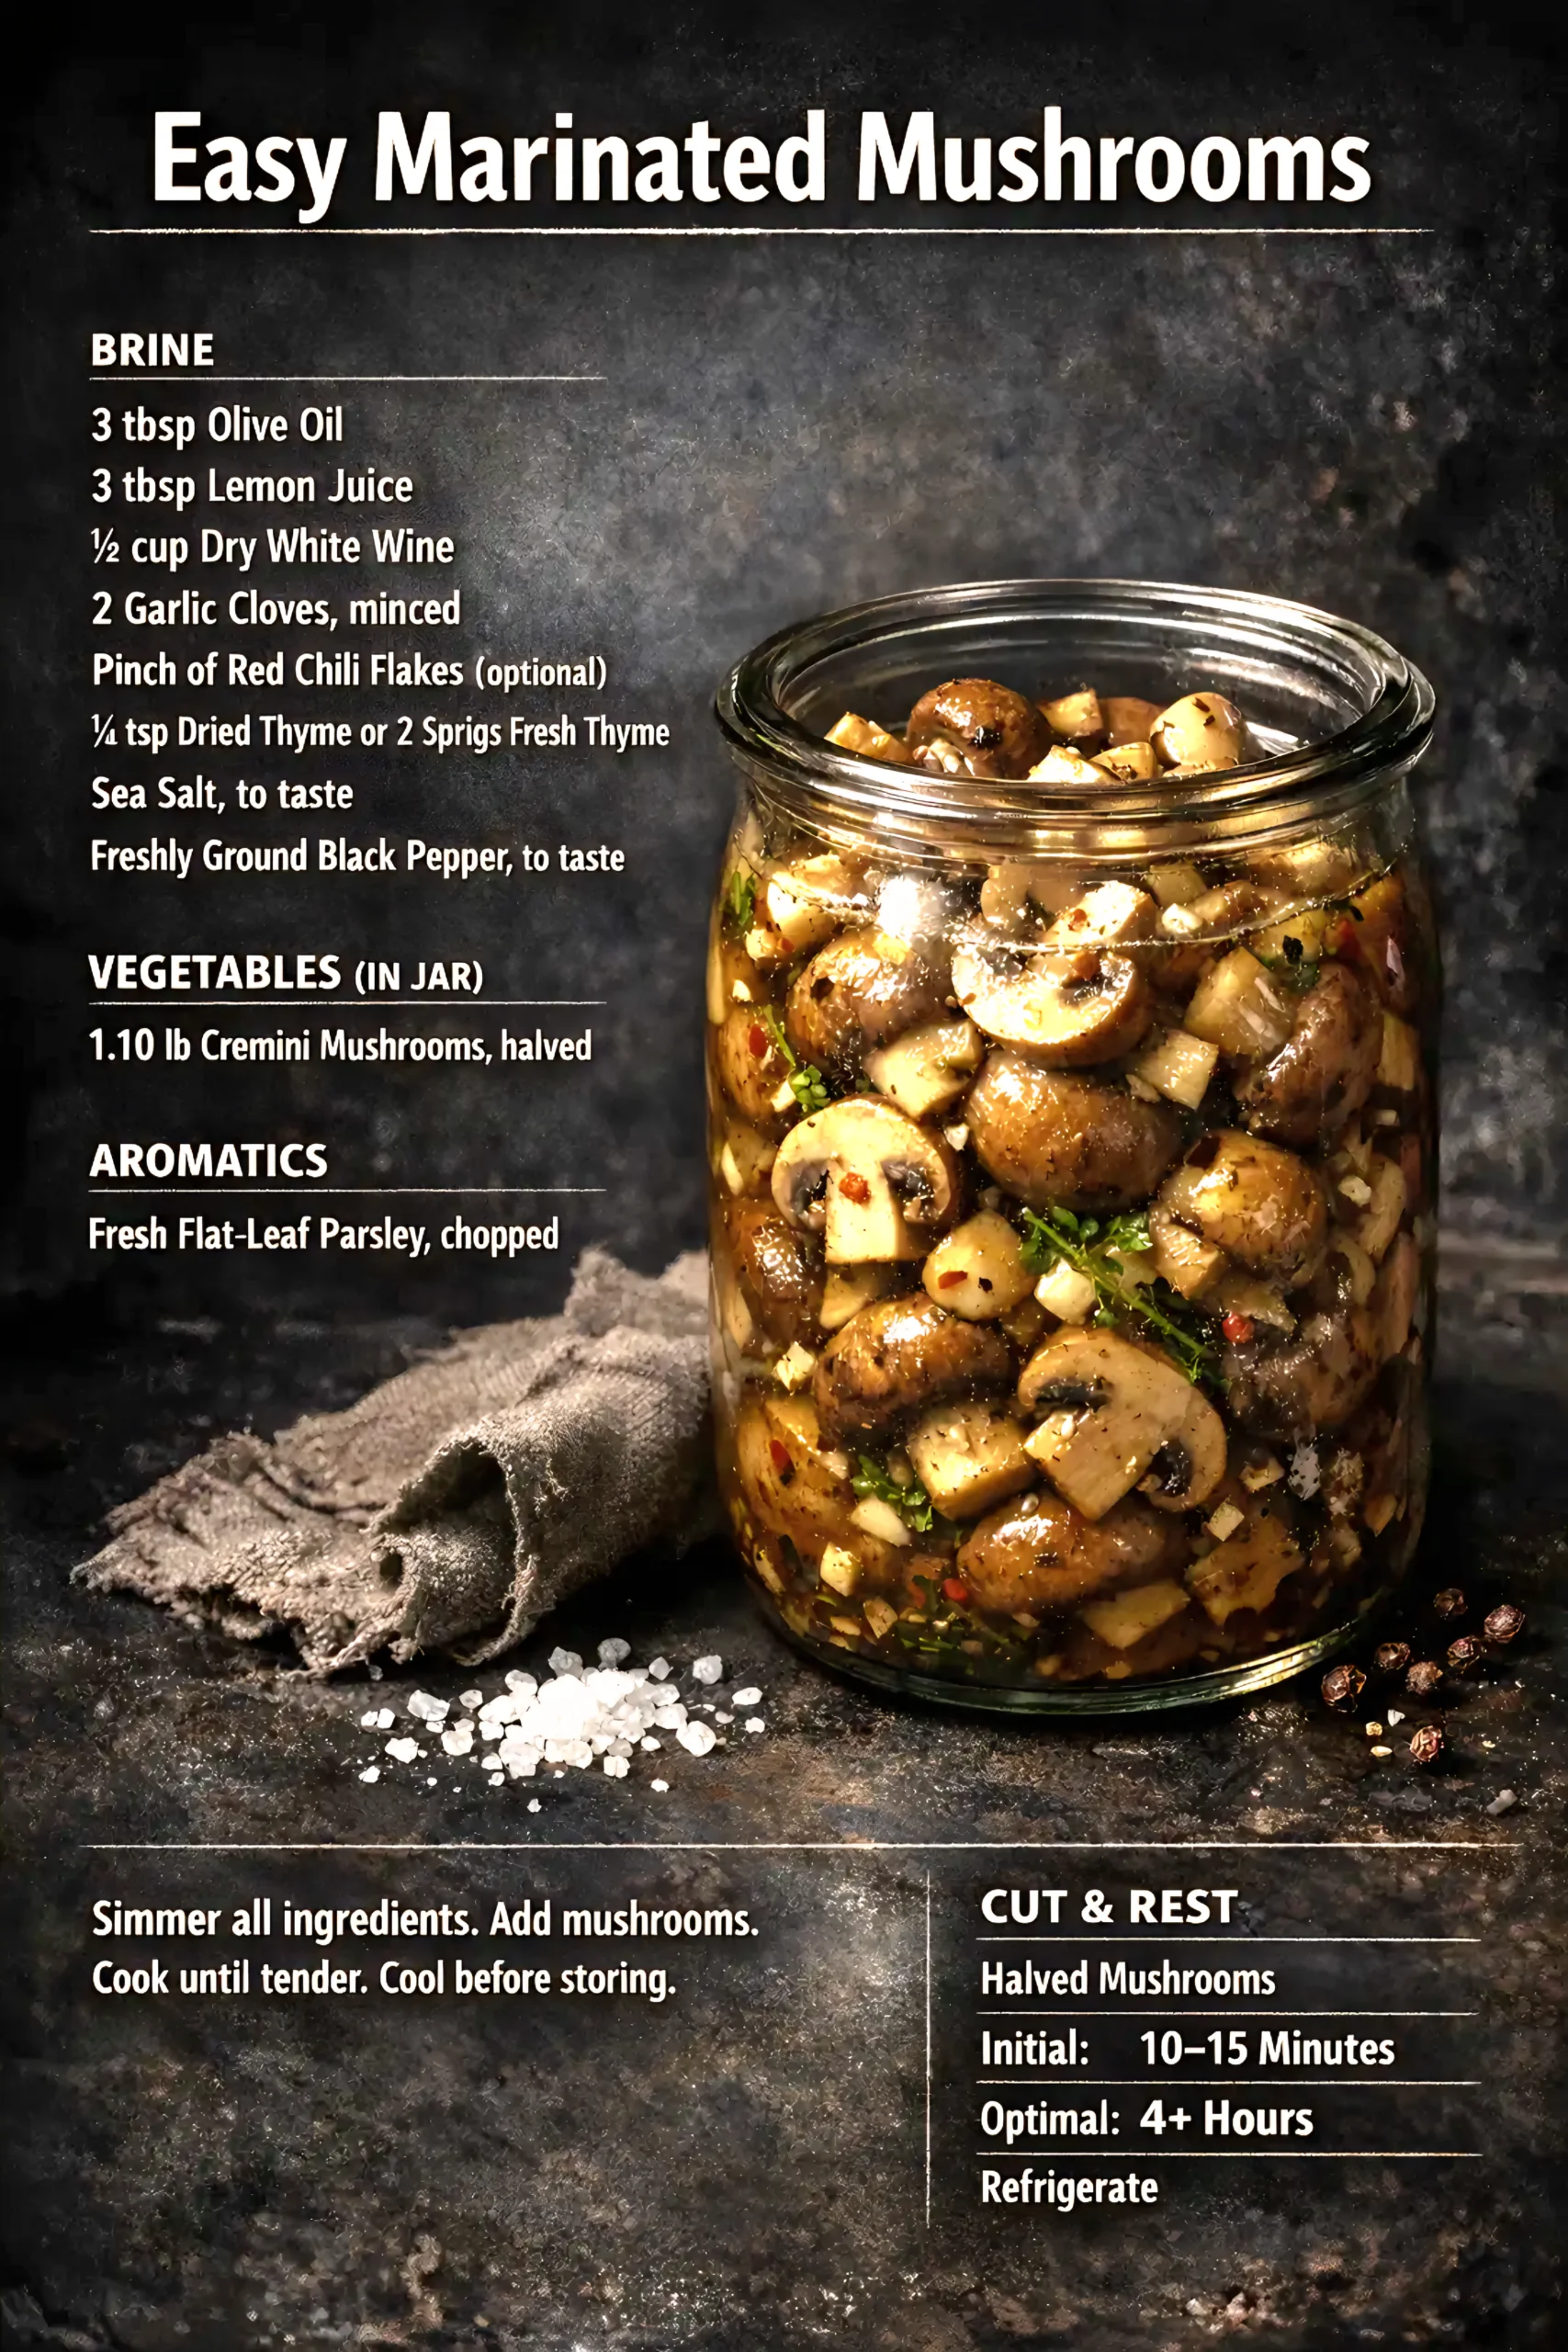
These savory mushrooms are incredibly versatile—perfect as an appetizer, pizza topping, or pasta addition.
🥫 Ingredients
Brine:
- 3 tbsp Olive Oil
- 3 tbsp Lemon Juice
- ½ cup Dry White Wine
- 2 Garlic Cloves, minced
- Pinch of Red Chili Flakes (optional)
- ¼ tsp Dried Thyme or 2 Sprigs Fresh Thyme
- Sea Salt, to taste
- Freshly Ground Black Pepper, to taste
Vegetables:
- 1.10 lb Cremini Mushrooms, halved
Aromatics:
- Fresh Flat-Leaf Parsley, chopped
👩🍳 Method
- Make the marinade: Combine olive oil, lemon juice, wine, garlic, and seasonings in a saucepan.
- Cook mushrooms: Add halved mushrooms and simmer until tender (about 10-15 minutes). The mushrooms will release moisture as they cook.
- Cool and store: Let cool completely before transferring to a jar. Add chopped parsley.
- Marinate: For immediate use, marinate 10-15 minutes. For optimal flavor, refrigerate 4+ hours.
🔥 Serving Suggestion: These taste amazing on crusty bread, mixed into grain bowls, or tossed with fresh pasta!
🧀 Recipe #3: Marinated Mozzarella with Cherry Tomatoes
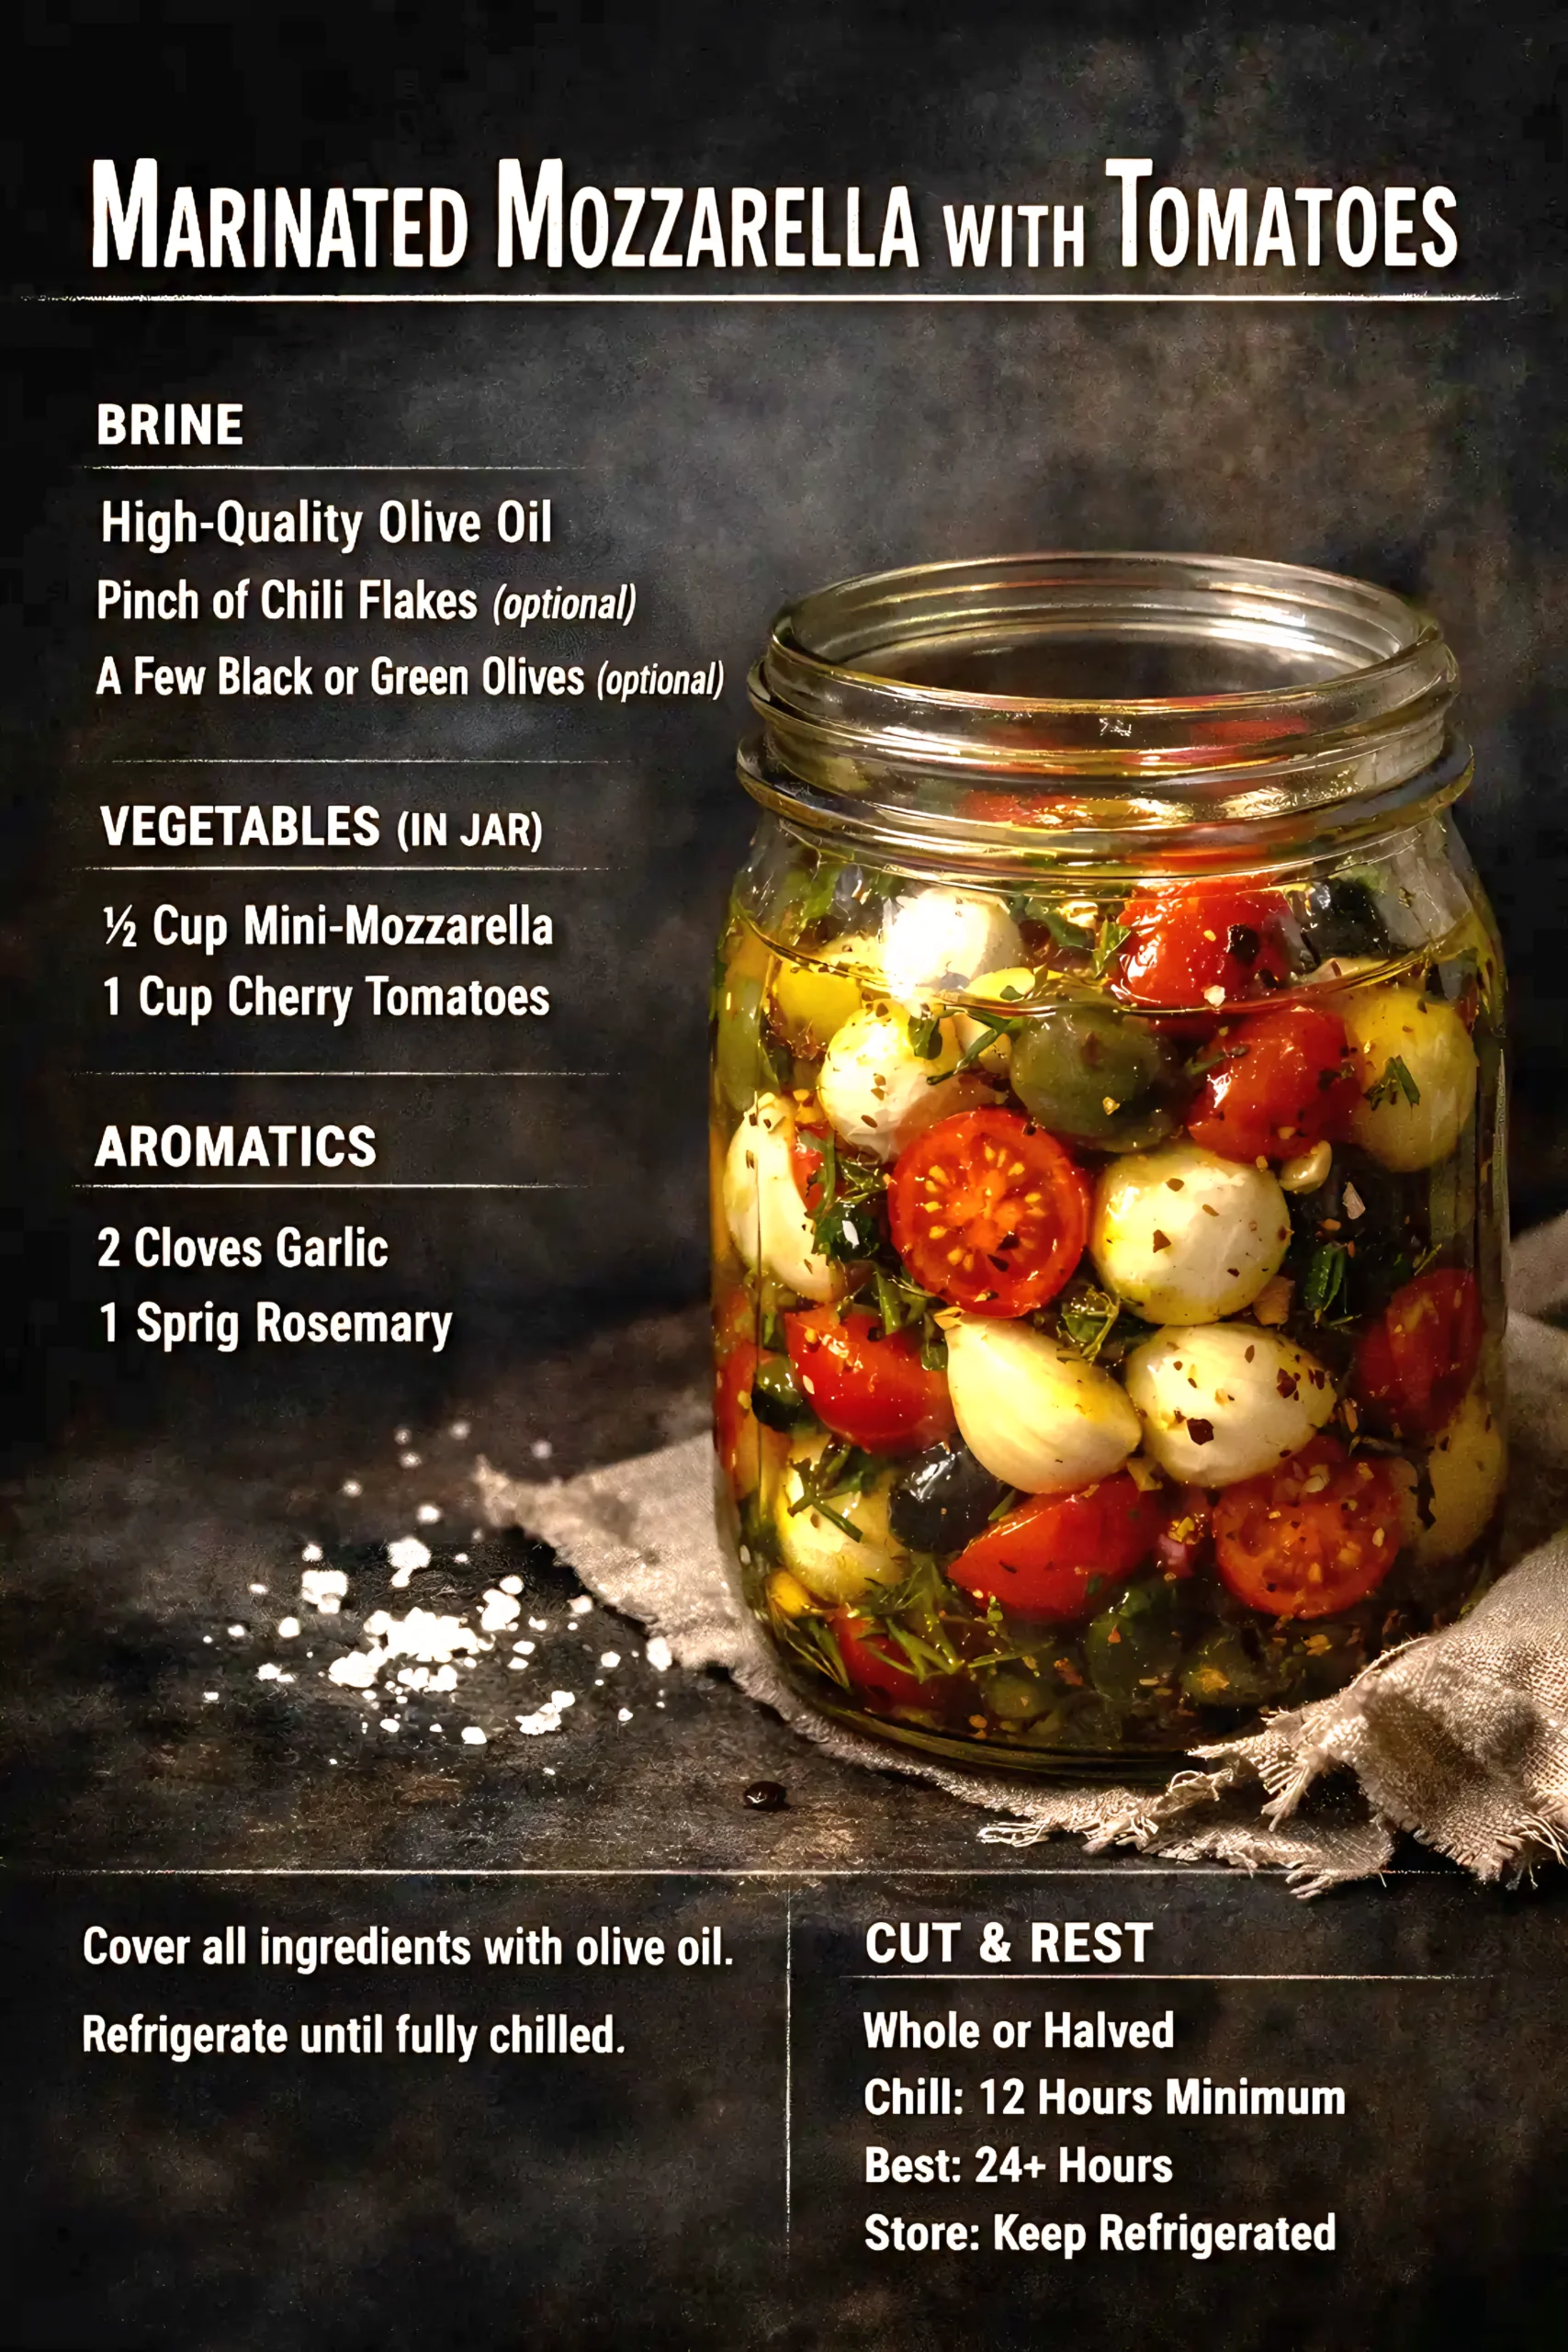
This simple yet elegant recipe creates an instant appetizer or salad topper bursting with Mediterranean flavors.
🥫 Ingredients
Brine:
- High-Quality Olive Oil (enough to cover)
- Pinch of Chili Flakes (optional)
- A Few Black or Green Olives (optional)
Vegetables:
- ½ Cup Mini-Mozzarella balls
- 1 Cup Cherry Tomatoes
Aromatics:
- 2 Cloves Garlic
- 1 Sprig Rosemary
👩🍳 Method
- Layer ingredients: In a clean jar, layer mozzarella balls, halved cherry tomatoes, whole garlic cloves, and rosemary.
- Cover with oil: Pour high-quality olive oil over everything until fully covered. Add optional chili flakes and olives.
- Chill: Refrigerate until fully chilled (minimum 12 hours for best flavor).
- Serve: These can be served whole/halved and taste even better after 24+ hours.
⚡ Quick Tip: Bring to room temperature 30 minutes before serving for maximum flavor impact!
🥒 Recipe #4: Pickled Spiced Cucumbers with Carrots

This crunchy, colorful pickle recipe combines two of the best vegetables for pickling—cucumbers and carrots—with warm spices.
🥫 Ingredients
- 2.2 lb Small Cucumbers
- 2 Carrots, sliced
- 2 cups Apple Cider Vinegar
- 1⅓ cups Sugar
- 1 Tbsp Salt
- 1 Tbsp Mustard Seeds
- 1 tsp Chili Flakes (optional)
- 1 Tbsp Celery Seeds or Dill Tips
👩🍳 Method
- Prepare vegetables: Slice cucumbers and carrots into desired shapes (coins, spears, or chunks).
- Heat brine: Combine vinegar, sugar, salt, and spices in a saucepan. Bring to a boil, stirring until sugar dissolves.
- Mix and jar: Pour hot brine over vegetables in a jar, ensuring they’re fully submerged.
- Rest: Cucumbers are ready in just 30 minutes, but develop better flavor after 12-24 hours. Store refrigerated.
🌟 Perfect For: Sandwiches, burgers, salad toppings, or enjoying straight from the jar as a healthy snack!
🌶️ Recipe #5: Pickled Radishes (Perfect for Summer!)
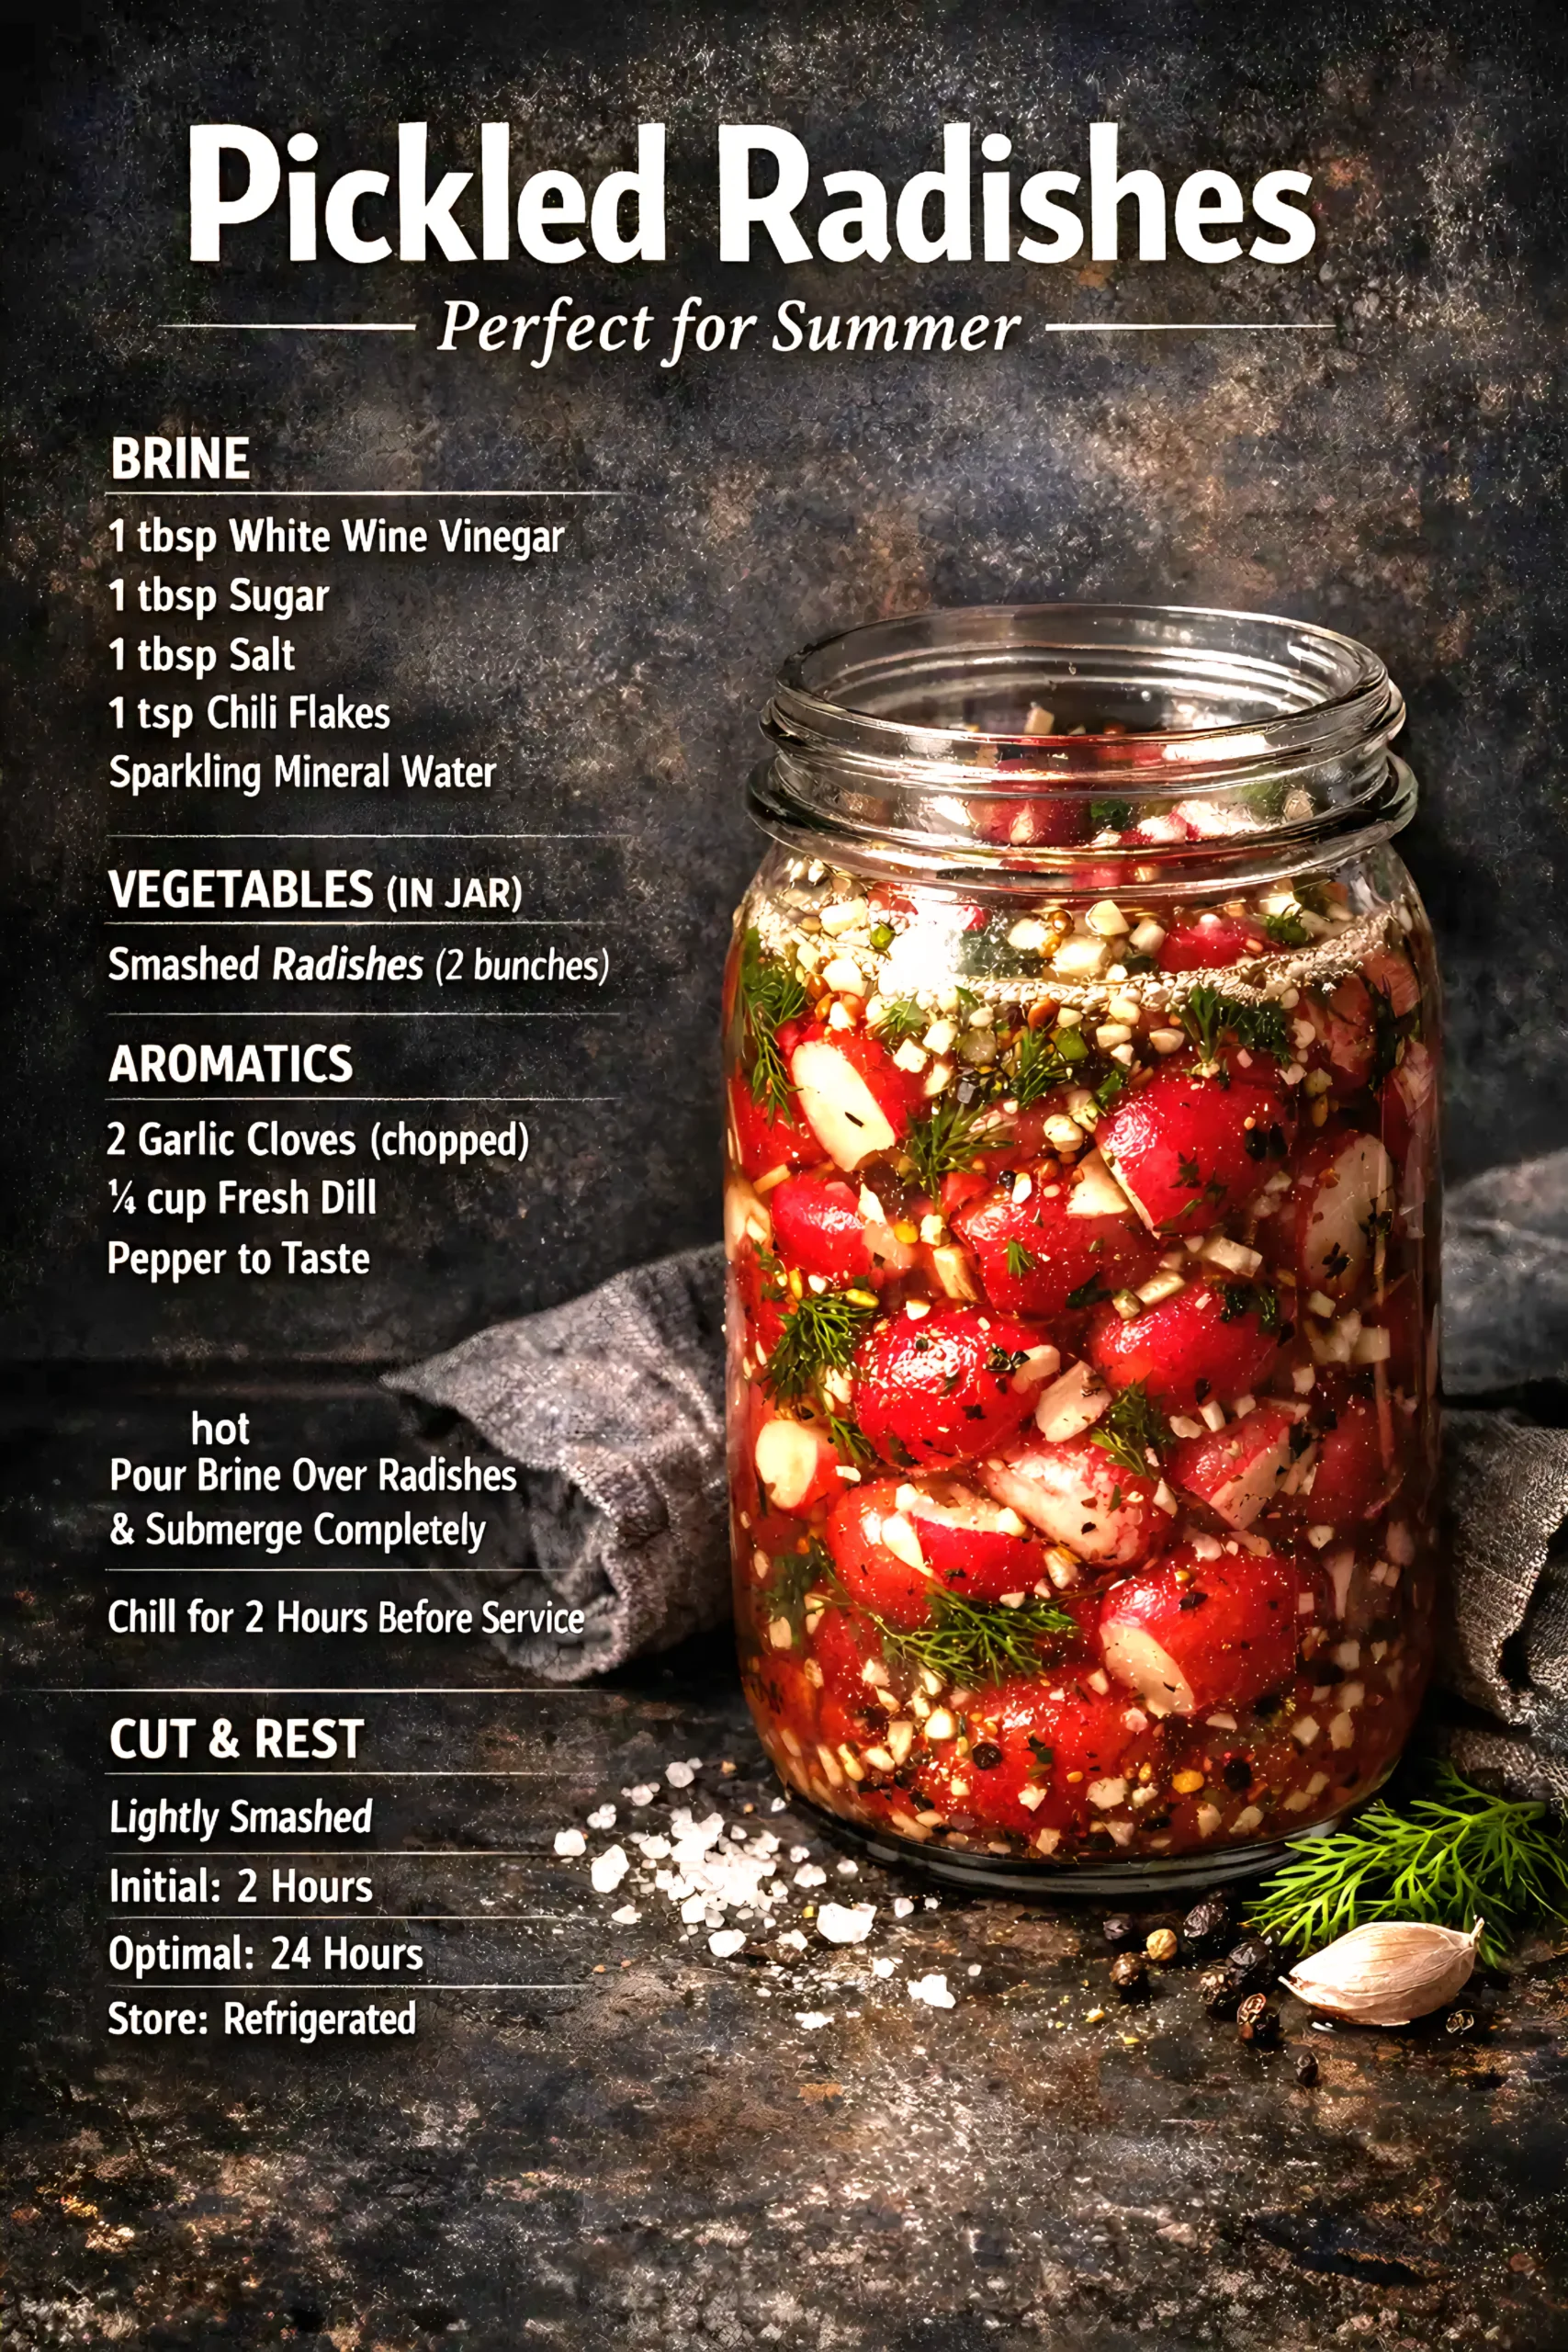
These vibrant pink pickles add a peppery crunch and visual pop to tacos, grain bowls, and bánh mì sandwiches.
🥫 Ingredients
Brine:
- 1 tbsp White Wine Vinegar
- 1 tbsp Sugar
- 1 tbsp Salt
- 1 tsp Chili Flakes
- Sparkling Mineral Water (to top up)
Vegetables:
- 2 bunches Radishes, lightly smashed
Aromatics:
- 2 Garlic Cloves, chopped
- ¼ cup Fresh Dill
- Pepper to Taste
👩🍳 Method
- Prep radishes: Lightly smash radishes with the flat side of a knife to help them absorb the brine.
- Make hot brine: Heat vinegar, sugar, salt, and chili flakes until dissolved.
- Assemble: Place smashed radishes in a jar with garlic and dill. Pour hot brine over, then top with sparkling water until fully submerged.
- Chill: Chill for 2 hours minimum before serving. For optimal flavor, wait 24 hours. Store refrigerated.
💚 Health Boost: Radishes are low in calories but high in vitamin C, making these pickles a nutritious snack option!
🥗 The Complete Pickled & Marinated Spread
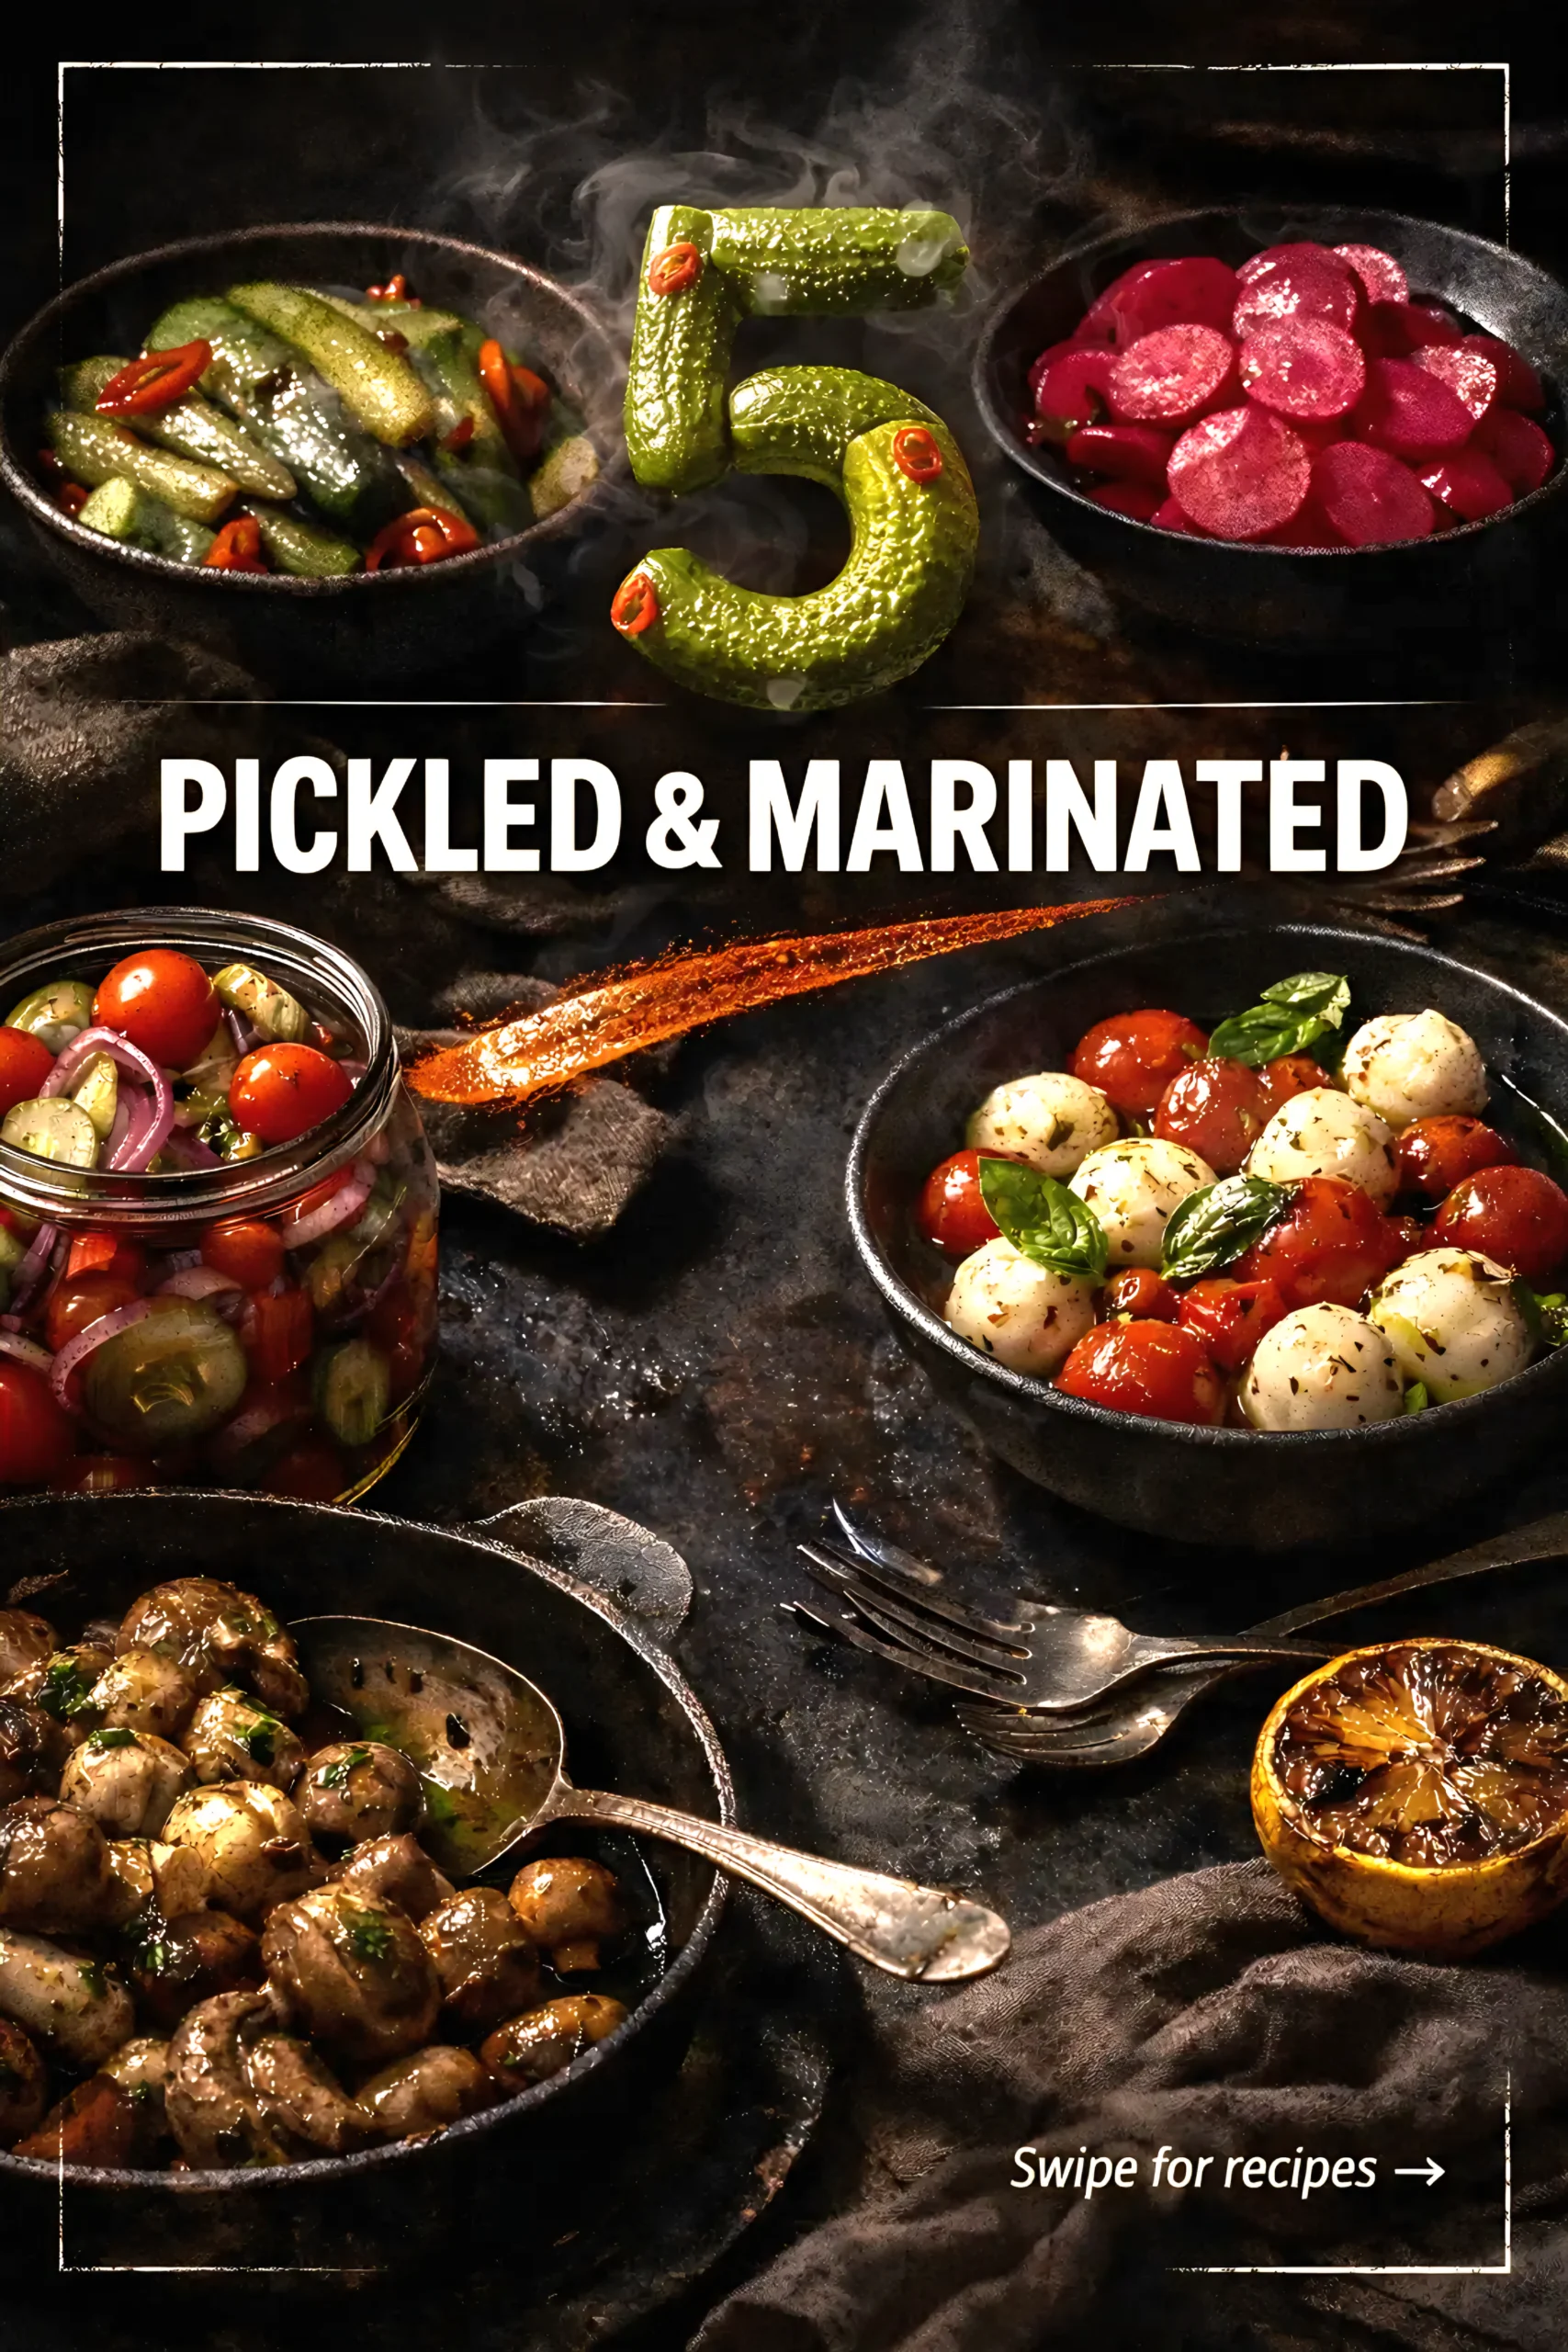
Once you’ve mastered these recipes, you can create stunning spreads featuring a variety of pickled and marinated vegetables. Mix and match colors, textures, and flavors for:
- Appetizer platters 🎉
- Sandwich bar toppings 🥪
- Salad bowl add-ins 🥗
- Breakfast toast companions 🍞
- Cocktail garnishes 🍸
📋 Essential Tips for Pickling Success
🔹 Choose the Right Equipment
- Glass jars with tight-fitting lids (Mason jars work perfectly)
- Non-reactive pots (stainless steel or enamel) for heating brine
- Clean utensils to prevent contamination
🔹 Master the 3-2-1 Pickling Ratio
For quick refrigerator pickles, remember the 3-2-1 method:
- 3 parts water
- 2 parts vinegar
- 1 part sugar
This creates a balanced sweet-sour flavor perfect for beginners!
🔹 Select Quality Vinegar
- Apple Cider Vinegar: Fruity, mild flavor
- White Wine Vinegar: Delicate, sophisticated
- Distilled White Vinegar: Neutral, allows other flavors to shine
- Rice Vinegar: Slightly sweet, great for Asian-inspired pickles
Always use vinegar with at least 5% acidity for food safety!
🔹 Food Safety First
- Always use clean, sterilized jars
- Ensure vegetables are fully submerged in brine
- Store refrigerated for quick pickles (these aren’t shelf-stable)
- Discard if you notice mold, off-smells, or cloudiness
🥗 Health Benefits of Pickled & Marinated Foods
Recent research highlights numerous benefits of incorporating pickled vegetables into your diet:
Digestive Health 🦠
Pickled vegetables contain probiotics (especially fermented varieties) that support gut health. According to Consumer Reports, fermented foods may help promote a healthy gut microbiome and even lower blood pressure.
Low-Calorie Nutrition 💪
Most pickled vegetables are extremely low in calories while providing essential vitamins and minerals. They’re perfect for anyone watching their weight without sacrificing flavor.
Antioxidant Properties 🛡️
The vegetables retain many of their original nutrients, and the vinegar itself has been linked to various health benefits, including blood sugar regulation.
Food Waste Reduction ♻️
Pickling prevents vegetable waste by extending shelf life from days to months, making it an environmentally friendly preservation method.
🍽️ Creative Ways to Use Pickled Vegetables
Don’t let your beautiful pickles sit in the fridge! Here are creative ways to incorporate them into everyday meals:
Breakfast Ideas 🌅
- Top avocado toast with pickled radishes
- Add pickled onions to breakfast burritos
- Serve alongside eggs and hash browns
Lunch & Dinner 🍴
- Layer on sandwiches and burgers
- Toss into grain bowls and salads
- Serve as a side with grilled meats
- Mix into pasta salads
- Add to cheese boards
Snacks & Appetizers 🥂
- Serve with crackers and cheese
- Create Mediterranean mezze platters
- Garnish cocktails (pickled vegetables make excellent Bloody Mary garnishes!)
- Enjoy straight from the jar as a healthy snack
🎯 Common Pickling Mistakes to Avoid
❌ Using Iodized Salt
Regular table salt contains additives that can cloud your brine. Always use pickling salt, kosher salt, or sea salt.
❌ Not Fully Submerging Vegetables
Exposed vegetables can develop mold. Keep everything below the brine line using a weight or smaller jar if needed.
❌ Skipping the Resting Time
While you can eat pickles immediately, patience pays off! Most recipes develop deeper, more complex flavors after at least 12-24 hours.
❌ Using Old or Soft Vegetables
Start with fresh, firm produce for the best texture. Soft vegetables become mushy after pickling.
❌ Overcrowding the Jar
Leave some space for the brine to circulate and ensure even flavor distribution.
🌍 Pickling Around the World
Pickling is a universal tradition! Explore these international variations:
- Korean Kimchi: Fermented spicy cabbage with countless variations
- Japanese Tsukemono: Delicate pickled vegetables served with rice
- Indian Achaar: Spicy, oil-based pickles with complex spice blends
- German Sauerkraut: Classic fermented cabbage
- Middle Eastern Torshi: Mixed vegetable pickles with warm spices
- Latin American Escabeche: Pickled jalapeños and vegetables
Each culture has developed unique pickling methods that reflect local ingredients and flavor preferences!
🛒 Storing Your Pickles
Refrigerator Pickles (These Recipes)
- Shelf life: 2-3 months refrigerated
- Storage: Keep in the original jar with tight lid
- Temperature: Maintain consistent refrigeration (35-40°F)
Safety Check
Before eating pickles that have been stored for a while:
- ✅ Check for normal color and appearance
- ✅ Smell should be pleasantly tangy, not off or foul
- ✅ No visible mold on vegetables or inside jar
- ✅ Brine should be relatively clear (slight cloudiness is normal)
🎓 Level Up Your Pickling Game
Once you’ve mastered these basic recipes, try experimenting with:
Flavor Variations 🌶️
- Add fresh herbs: basil, cilantro, tarragon, or mint
- Experiment with spices: coriander, fennel seeds, or star anise
- Try different sweeteners: honey, maple syrup, or brown sugar
- Add heat: fresh chiles, hot pepper flakes, or peppercorns
Vegetable Variations 🥕
According to food preservation experts, almost any firm vegetable can be pickled, including:
- Asparagus
- Green beans
- Cauliflower
- Brussels sprouts
- Beets (keep these separate—they stain everything pink!)
- Bell peppers
- Jalapeños
Seasonal Pickling 🍂
- Spring: Asparagus, ramps, baby carrots
- Summer: Cucumbers, tomatoes, peppers, zucchini
- Fall: Beets, turnips, Brussels sprouts
- Winter: Cabbage, radishes, onions
🌟 Final Thoughts: Your Pickling Journey Starts Now!
Pickling and marinating are accessible, rewarding kitchen skills that anyone can master. Whether you’re preserving garden produce, reducing food waste, or simply looking to add exciting flavors to everyday meals, these six recipes provide the perfect starting point.
Remember the key principles:
- ✅ Use fresh, high-quality vegetables
- ✅ Maintain proper brine ratios (3-2-1 is your friend!)
- ✅ Practice patience—flavors develop over time
- ✅ Store safely in the refrigerator
- ✅ Get creative with flavors and combinations
Ready to Start Pickling?
Choose one recipe from this guide and give it a try this week. Start with the classic pickled cherry tomatoes—they’re virtually foolproof and incredibly versatile. Once you taste the difference between homemade and store-bought pickles, you’ll never look back!
Have questions or want to share your pickling creations? Drop a comment below! We’d love to hear about your favorite flavor combinations and pickling adventures. 🫙✨
📚 Additional Resources
- Harvard Health: Fermented Foods for Gut Health
- Eater: The Difference Between Pickling and Marinating
- The Spice House: Easy Pickle Tips and Recipes
Happy Pickling! 🥒🫙💚
This comprehensive guide provides everything you need to start your pickling journey, from basic techniques to advanced tips. The health benefits, combined with the incredible flavors and food preservation advantages, make pickling a skill worth mastering in any modern kitchen!