
By Polia · Skincare & Beauty
Thank you for reading this post, don’t forget to subscribe!Let me tell you what glass skin actually is — and isn’t.
It’s not the poreless, filter-smoothed complexion you see on a K-pop star in a music video. It’s not a ten-step routine that requires a shelf full of products with unpronounceable ingredients. And it is absolutely not something reserved for people with genetically perfect skin, unlimited budgets, or two free hours every morning.
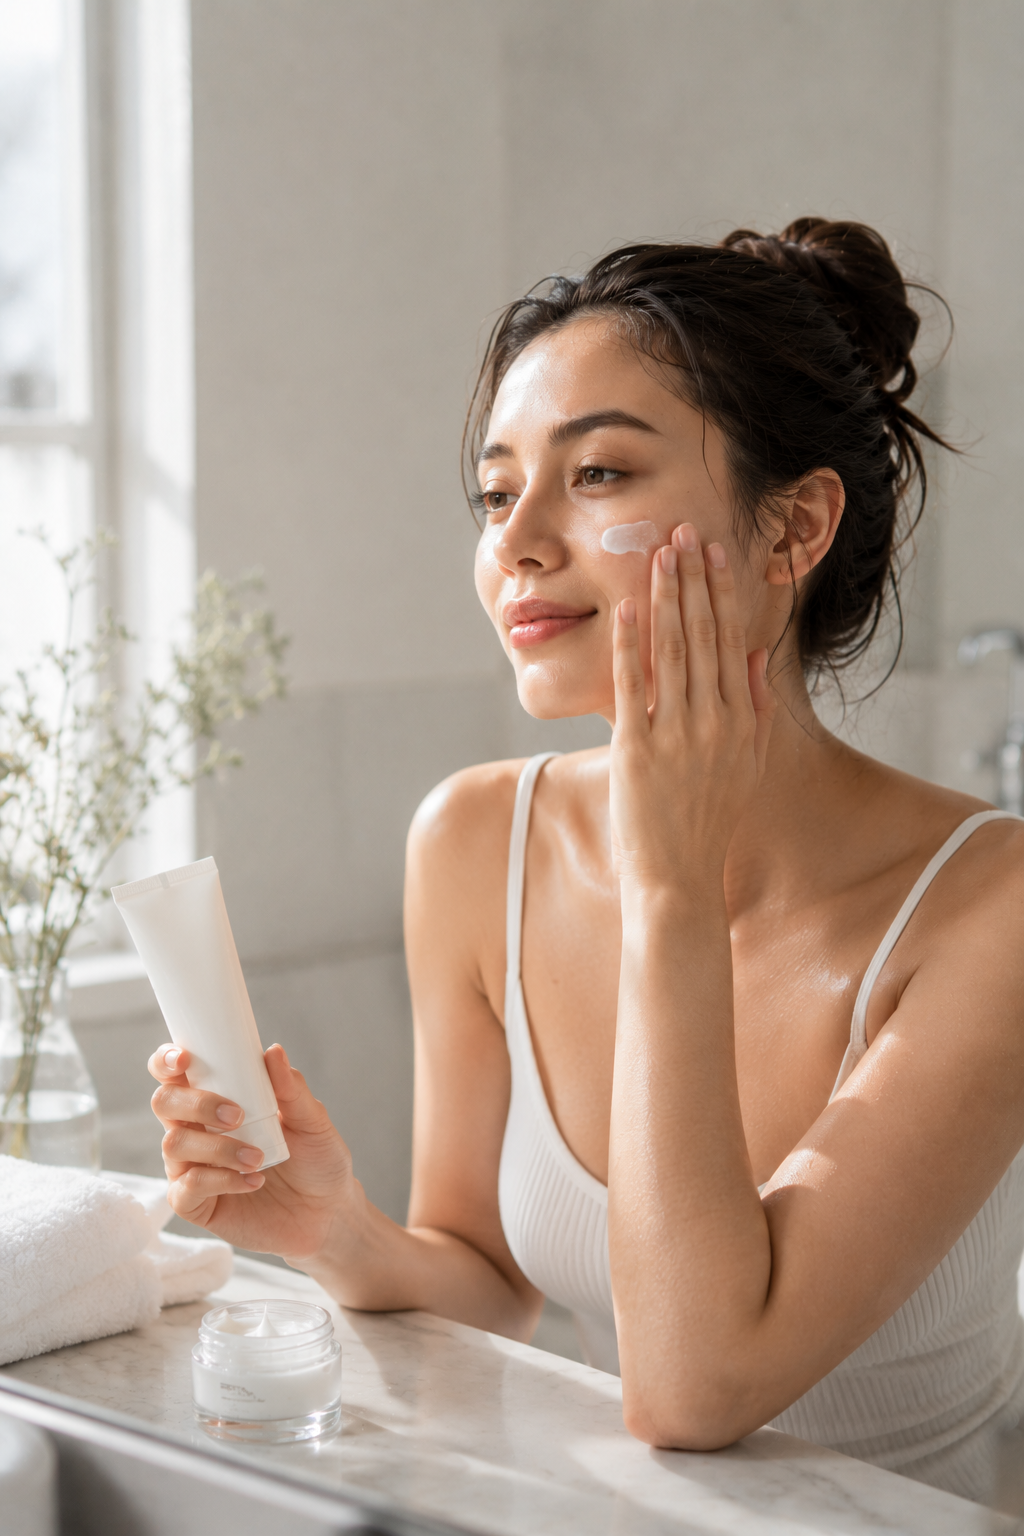
Glass skin is healthy skin. Skin so consistently hydrated, so well-cared-for, that it catches the light instead of absorbing it. Skin that looks luminous and clear not because it’s been altered or filtered, but because it’s genuinely thriving.
That version of glass skin — the real, achievable, everyday version — is completely accessible to a beginner. With drugstore products. Under $30 total. Starting tonight if you want.
Here’s exactly how.
What makes skin look like glass (and what’s actually in your way)
Before the routine, a quick explanation of why some skin looks luminous and some looks flat — because once you understand this, the five steps make complete sense.
Skin looks glassy when it’s deeply and consistently hydrated, when the surface is smooth enough that light reflects off it evenly, and when the skin barrier — the protective outermost layer — is intact and healthy.
Skin looks dull, rough, or flat when it’s dehydrated (even if it’s oily — these are different things), when there’s a buildup of dead skin cells disrupting the surface, or when the skin barrier is compromised and constantly trying to repair itself instead of reflecting light.
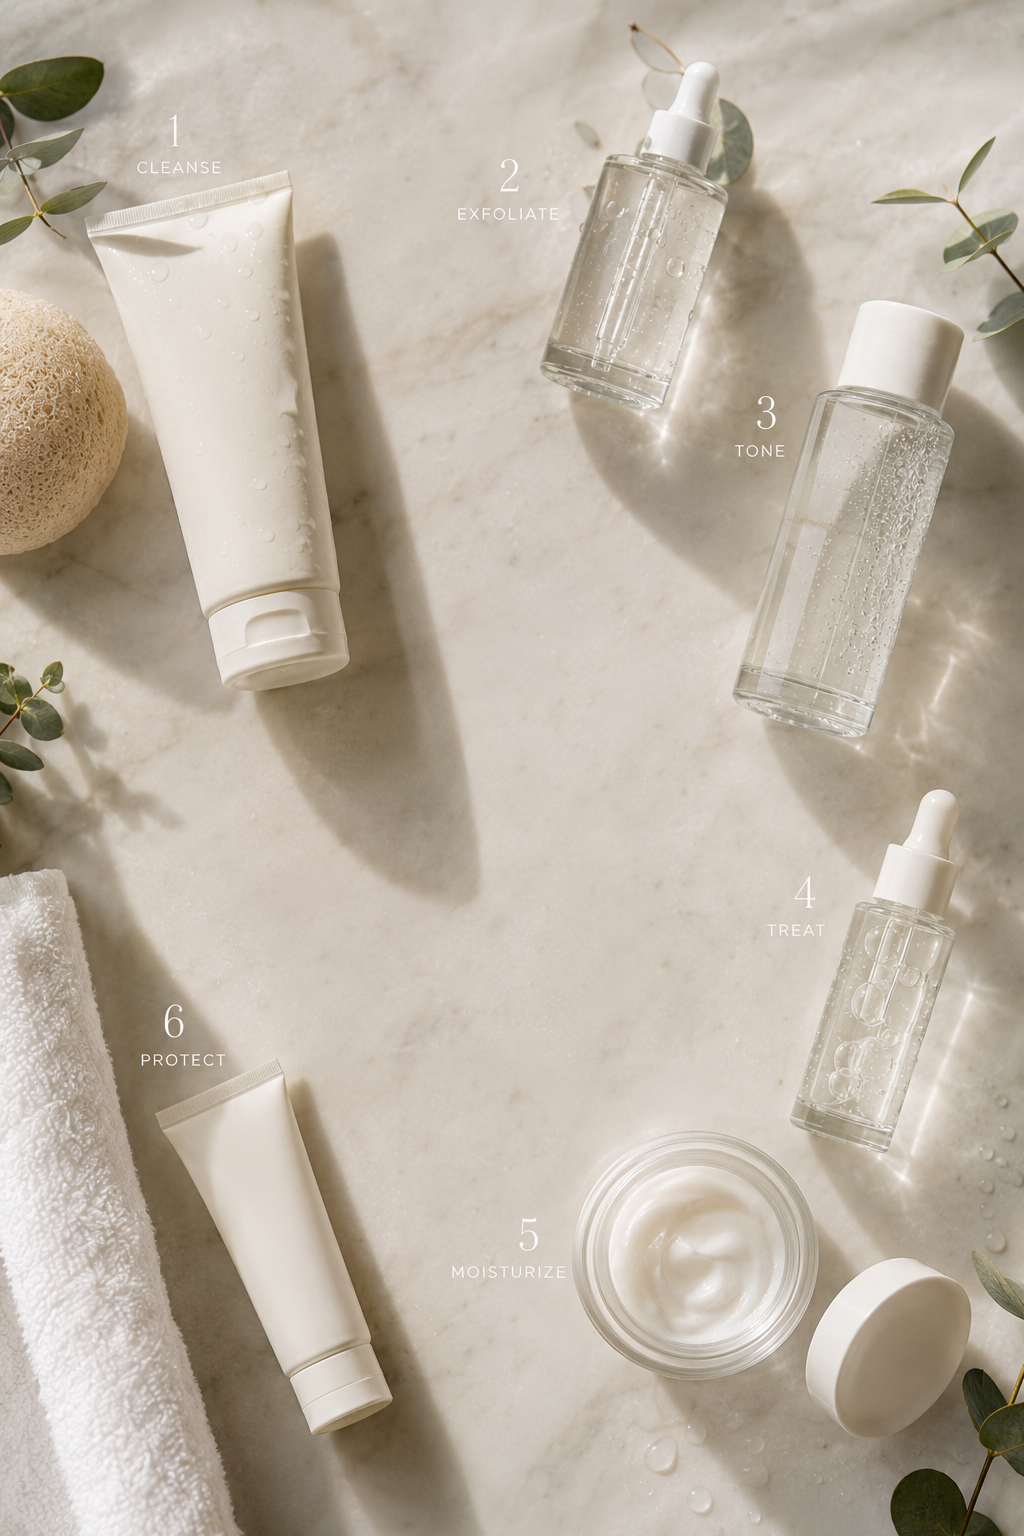
The five steps below address all three of those things directly. In order. That order matters, and I’ll explain why as we go.
Step 1: Double cleanse — the foundation everything else is built on
What it is: Cleansing twice. An oil-based cleanser first, then a water-based cleanser second.
Why it matters for glass skin: The first cleanse removes oil-based debris — sunscreen, makeup, sebum, pollution. The second cleanse removes water-based debris — sweat, dirt, anything the oil cleanser left behind. Using only a water-based cleanser by itself doesn’t fully remove oil-based residue, which means your expensive serums and moisturisers are absorbing into a surface that isn’t actually clean.
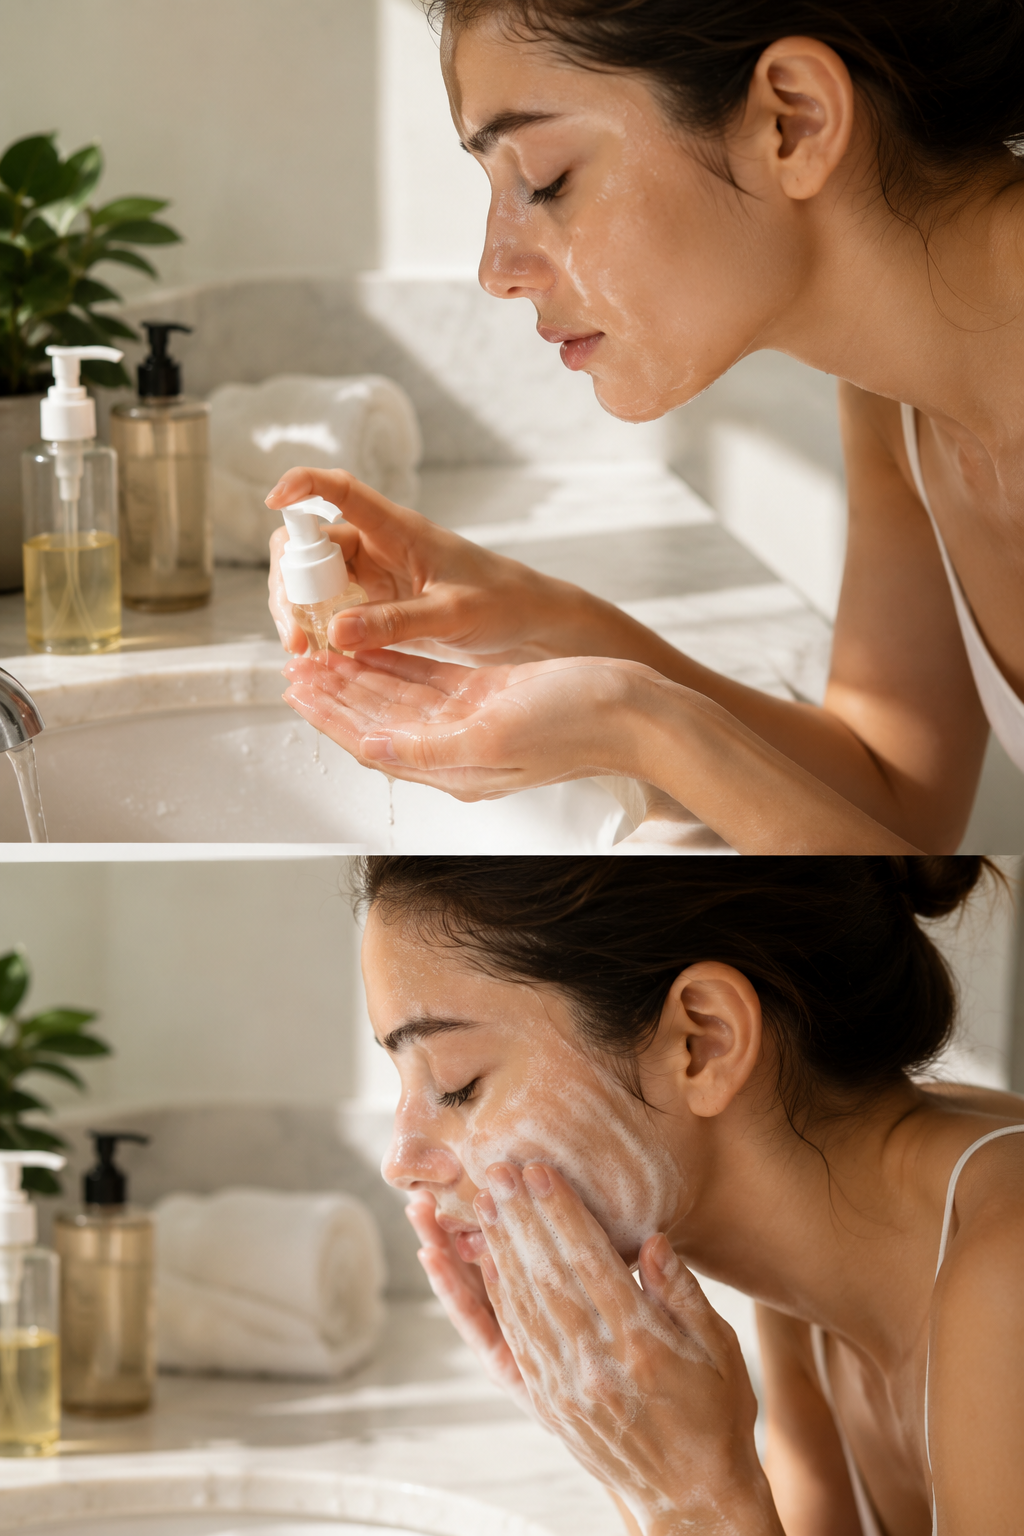
Think of it like washing a greasy pan. Water alone doesn’t cut through grease — you need something oil-based first.
When to do it: At night only. In the morning, a gentle water-based cleanse (or just water, if your skin isn’t oily) is enough — overnight your skin produces its own natural oils and there’s no sunscreen or pollution to clear.
Drugstore picks:
Oil cleanser:
- Neutrogena Ultra Light Cleansing Oil (~$10) — lightweight, doesn’t leave residue, good for all skin types including oily
- Kose Softymo Speedy Cleansing Oil (~$12, at Asian beauty sections or online) — cult favourite, genuinely melts everything off
Water-based cleanser:
- CeraVe Hydrating Cleanser (~$14) — creamy, non-stripping, contains ceramides that start rebuilding your skin barrier while you wash
- La Roche-Posay Toleriane Hydrating Gentle Cleanser (~$15) — fragrance-free, good for sensitive or reactive skin
- Vanicream Gentle Facial Cleanser (~$10) — the most stripped-back option, ideal if your skin reacts to everything
The move you’re trying to avoid: A tight, squeaky-clean feeling after washing. That feeling means your cleanser stripped your skin barrier along with the grime. Your skin should feel clean and comfortable — not dry, not taut.
Step 2: Exfoliate (twice a week, not daily)
What it is: Using a gentle chemical exfoliant to dissolve dead skin cells from the surface.
Why it matters for glass skin: Dead skin cells are what stand between your skin and the light. They accumulate on the surface, dull the complexion, create rough texture, and prevent your serums and moisturisers from absorbing properly. Regular, gentle exfoliation is the difference between skin that’s hydrated and skin that looks hydrated.
The key word is gentle. The glass skin routine doesn’t use harsh scrubs or daily exfoliation — that damages the skin barrier and creates the very problems you’re trying to fix. Chemical exfoliation (acids) is far more effective and far less damaging than physical scrubbing.
Two types to know:
AHAs (Alpha Hydroxy Acids) — glycolic acid, lactic acid. Work on the skin’s surface. Best for dullness, uneven skin tone, dry skin.
BHAs (Beta Hydroxy Acids) — salicylic acid. Oil-soluble, goes deeper into pores. Best for congestion, blackheads, oily or acne-prone skin.
For glass skin beginners, lactic acid is the gentlest entry point. Glycolic is more effective but can be sensitising. Salicylic is your pick if you’re oily or break out regularly.
How often: Twice a week maximum. Your skin needs time to complete its natural cell turnover cycle — exfoliating more often disrupts that process rather than accelerating it.
Drugstore picks:
- The Ordinary Lactic Acid 5% + HA (~$7) — beginner-level, paired with hyaluronic acid to offset any dryness
- The Ordinary Glycolic Acid 7% Toning Solution (~$12) — a toner format, good if you want a lighter application
- Paula’s Choice 2% BHA Liquid Exfoliant (~$32 — slightly above drugstore price but widely available and genuinely worth it for oily/acne-prone skin)
- Neutrogena Rapid Clear 2-in-1 Fight & Fade Toner (~$8) — contains salicylic acid, drugstore-available, works for congested skin
How to use it: Apply after cleansing to dry skin. Wait 20–30 minutes before layering anything on top. On exfoliation nights, skip any other active ingredients (retinol, vitamin C) — too many actives at once is how irritation happens.
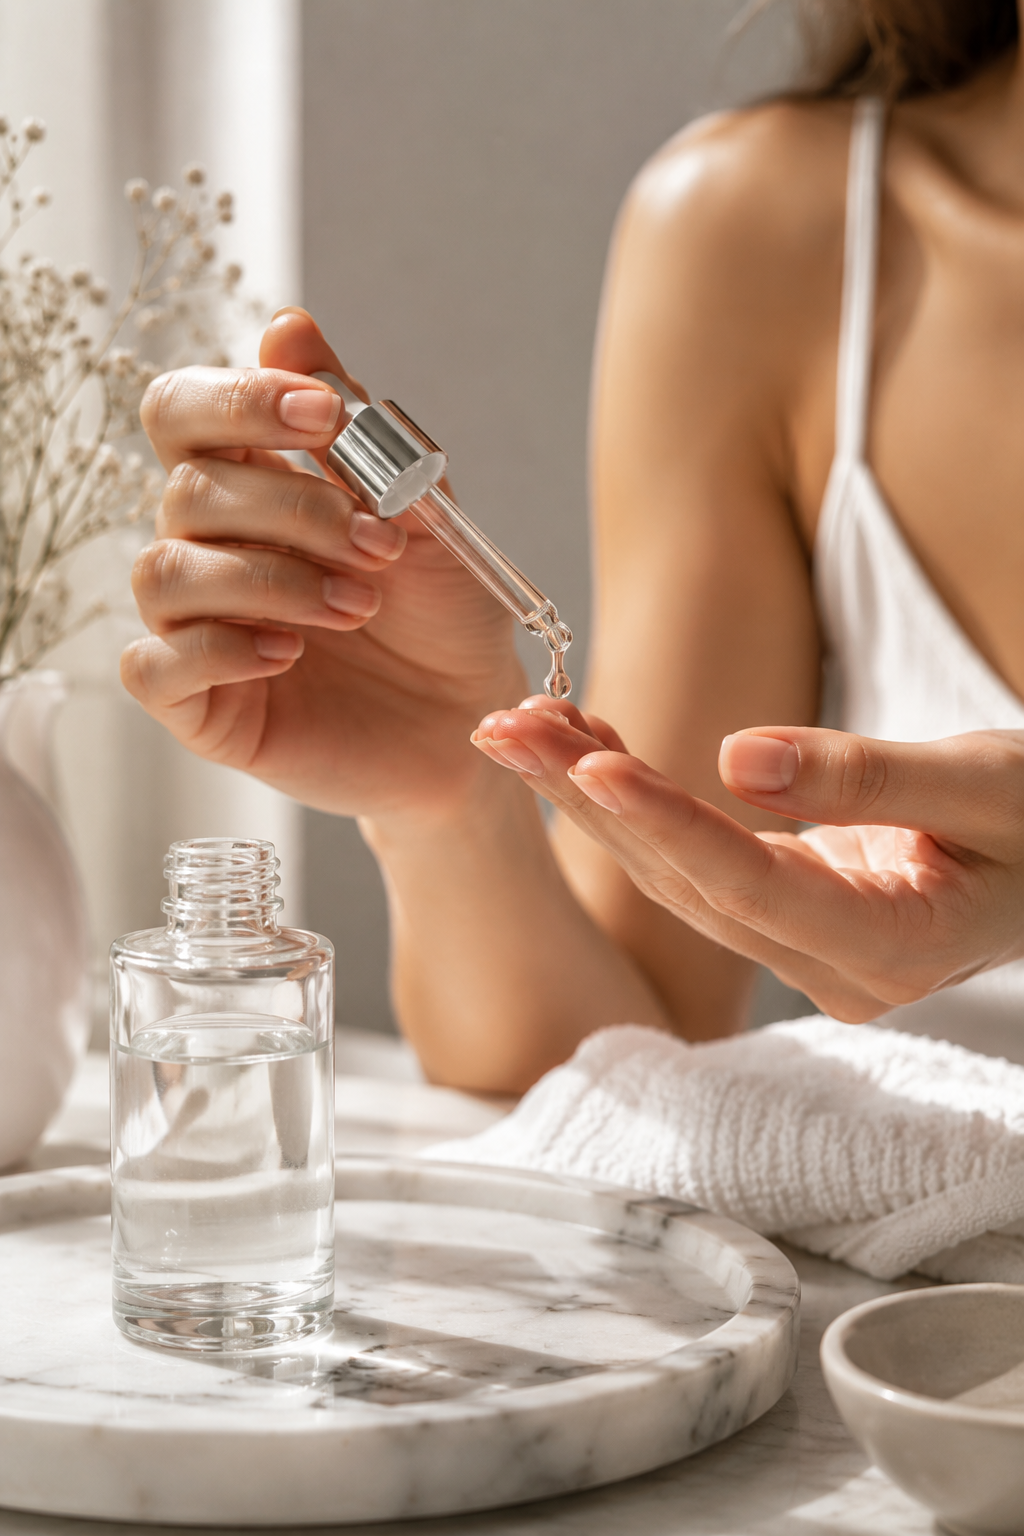
Step 3: Hydrating toner or essence — the layer that changes everything
What it is: A lightweight, water-based liquid applied to damp skin immediately after cleansing (on non-exfoliation nights) or after your exfoliant has absorbed.
Why it matters for glass skin: This is the step that makes the most immediate visible difference and the one most Western skincare routines skip entirely. A hydrating toner or essence floods your skin with water-binding ingredients before you seal them in with moisturiser. It’s the reason Korean glass skin looks the way it does — the layering technique.
The difference between skin that’s moisturised and skin that looks glowing is often this single step. It plumps the skin from within, smooths fine lines temporarily, and creates a base that makes everything on top absorb better and last longer.
Apply it to damp skin. This is important. Directly after cleansing, while your skin still has some moisture on it, press — don’t rub — the toner in with your hands. Your hands warm it and help it penetrate better than a cotton pad.

Ingredients to look for: Hyaluronic acid (holds up to 1000× its weight in water), glycerin (draws moisture from the air into your skin), niacinamide (brightens, reduces pores, strengthens barrier), panthenol (soothing, repairs).
Drugstore picks:
- COSRX Advanced Snail 96 Mucin Power Essence (~$14) — the most recommended beginner essence, widely loved for improving texture and glow over time. Snail mucin is unglamorous but genuinely effective.
- Neutrogena Hydro Boost Hydrating Toner (~$15) — hyaluronic acid based, widely available
- Klairs Supple Preparation Unscented Toner (~$18) — fragrance-free version of a K-beauty favourite, good for sensitive skin
- The Ordinary Hyaluronic Acid 2% + B5 (~$8) — not technically a toner but applied the same way; excellent starting point
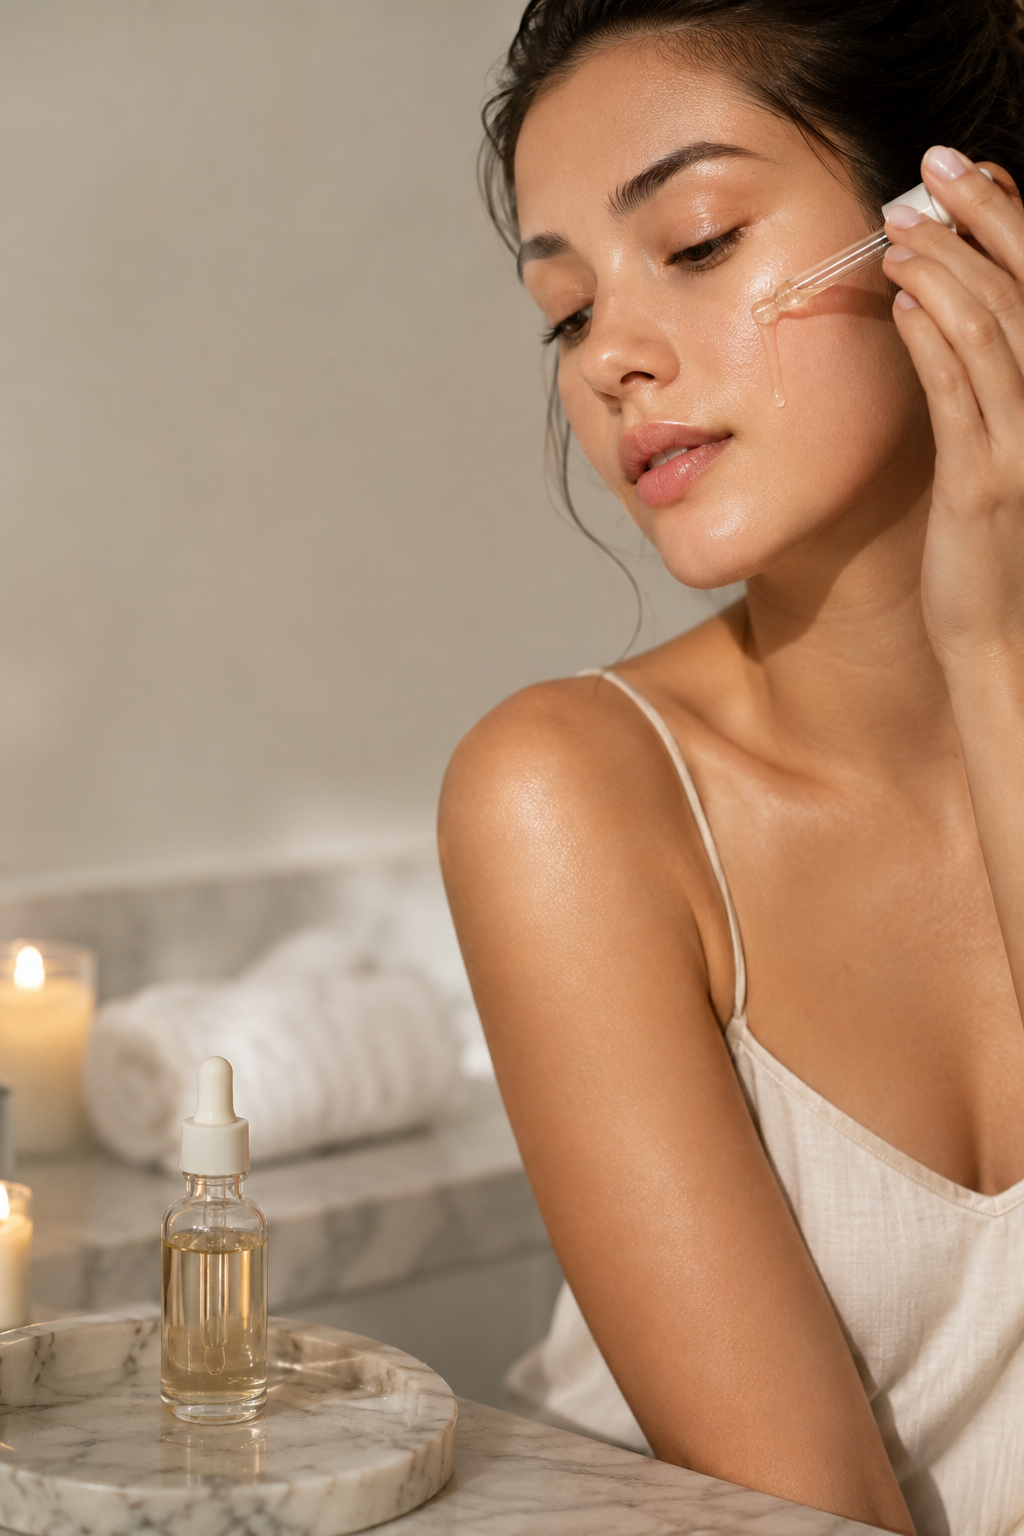
Step 4: Niacinamide serum — the glass skin ingredient
What it is: A targeted serum containing niacinamide — vitamin B3 — applied after your toner and before your moisturiser.
Why it matters for glass skin: If there is one ingredient responsible for the glass skin effect, it’s niacinamide. It does more than almost anything else available at drugstore prices:
- Brightens uneven skin tone and fades dark spots
- Visibly minimises pores over consistent use
- Strengthens the skin barrier (which means your skin holds onto all that hydration you just added)
- Controls excess oil without drying
- Reduces redness and inflammation
- Works alongside almost every other skincare ingredient without conflict
It’s not fast-acting — you’ll start to see a real difference at the 4–6 week mark — but it is genuinely transformative with consistent use. Most glass skin before-and-afters you see online have niacinamide at the centre of the routine.
How to use: Apply 2–3 drops to your face and neck after your toner has absorbed. Pat gently. Wait 60 seconds before your moisturiser.
One note: Some people mix niacinamide with vitamin C and experience temporary flushing. It’s harmless but if you use vitamin C, use it in the morning and niacinamide at night — or look for a serum that combines both (they exist and are formulated to avoid the reaction).
Drugstore picks:
- The Ordinary Niacinamide 10% + Zinc 1% (~$6) — the most recommended beginner niacinamide serum on the planet. At this price, it’s essentially free to try. Start with this.
- L’Oréal Revitalift 10% Niacinamide Serum (~$20) — more widely available in standard drugstores if you can’t find The Ordinary locally
- TruSkin Niacinamide Serum (~$20, Amazon) — pairs niacinamide with hyaluronic acid for a hydrating and brightening combo
- CeraVe Skin Renewing Vitamin C Serum (~$17) — if you want to combine vitamin C brightening with barrier support; use this in the morning
Step 5: Moisturise and protect — seal everything in
What it is: A moisturiser to seal in all the hydration from the previous steps, and (in the morning) SPF on top.
Why it matters for glass skin: All of the hydration you’ve built up in the previous steps needs to be sealed in — otherwise it evaporates. Moisturiser is the lid on the jar. But the SPF part is equally non-negotiable: UV exposure is the single biggest cause of dullness, dark spots, uneven texture, and early ageing. If you do every other step and skip sunscreen, you are undoing much of the work of the routine over time.
Think of SPF as the protective glass over the glass skin.
What to look for in a moisturiser: Ceramides (rebuild the skin barrier), hyaluronic acid (holds moisture), glycerin (draws water in), niacinamide (if you want to double up). Avoid heavy fragrances if your skin is reactive.
Drugstore picks:
Moisturiser:
- CeraVe Moisturizing Cream (~$16) — ceramide-rich, dermatologist-approved, works for all skin types, fragrance-free. The most recommended drugstore moisturiser for good reason.
- Neutrogena Hydro Boost Water Gel (~$18) — lighter texture, great for oily skin or warm weather. Absorbs fast and leaves a plump, dewy finish.
- La Roche-Posay Toleriane Double Repair Moisturizer (~$25) — niacinamide plus ceramides in one product; if budget allows, this is a standout.
- Vanicream Moisturizing Skin Cream (~$12) — for the most sensitive or reactive skin. No fragrance, no dyes, no preservatives beyond the minimum.
SPF (morning only):
- EltaMD UV Clear SPF 46 (~$39 — slightly above strict drugstore but at Target/Ulta, and widely considered the gold standard for daily face SPF)
- La Roche-Posay Anthelios Melt-In Milk SPF 60 (~$25) — excellent broad-spectrum, no white cast on most skin tones
- Neutrogena Ultra Sheer Dry-Touch SPF 55 (~$12) — fully drugstore, lightweight, no white cast, good starter option
- Supergoop Unseen Sunscreen SPF 40 (~$38 — again slightly above, but the texture is unmatched and it doubles as a makeup primer)
Note on the order: Moisturiser goes on before SPF. SPF is always your last step. Don’t mix them — SPF needs to sit on the surface to do its job, not be diluted into another product.
Your complete glass skin routine at a glance
Morning (5–7 minutes):
- Gentle water-based cleanse
- Hydrating toner (pat into damp skin)
- Niacinamide serum
- Moisturiser
- SPF (last step, every single morning)
Evening (7–10 minutes, exfoliation nights):
- Oil cleanser
- Water-based cleanser
- Exfoliant (twice a week) — wait 20–30 min
- Hydrating toner
- Niacinamide serum
- Moisturiser
Evening (non-exfoliation nights):
- Oil cleanser
- Water-based cleanser
- Hydrating toner
- Niacinamide serum
- Moisturiser
Build this routine for under $30
You don’t need everything at once. Here’s the order of priority if you’re starting from scratch:
Start here (under $30 total):
- CeraVe Hydrating Cleanser (~$14)
- The Ordinary Niacinamide 10% + Zinc (~$6)
- CeraVe Moisturizing Cream (~$16)
- Neutrogena Ultra Sheer SPF 55 (~$12)
Add next (when budget allows):
- COSRX Snail Mucin Essence (~$14)
- The Ordinary Lactic Acid 5% + HA (~$7)
- Neutrogena Cleansing Oil (~$10)
Total for the complete 5-step routine: Under $80. And most of these products last 3–6 months.
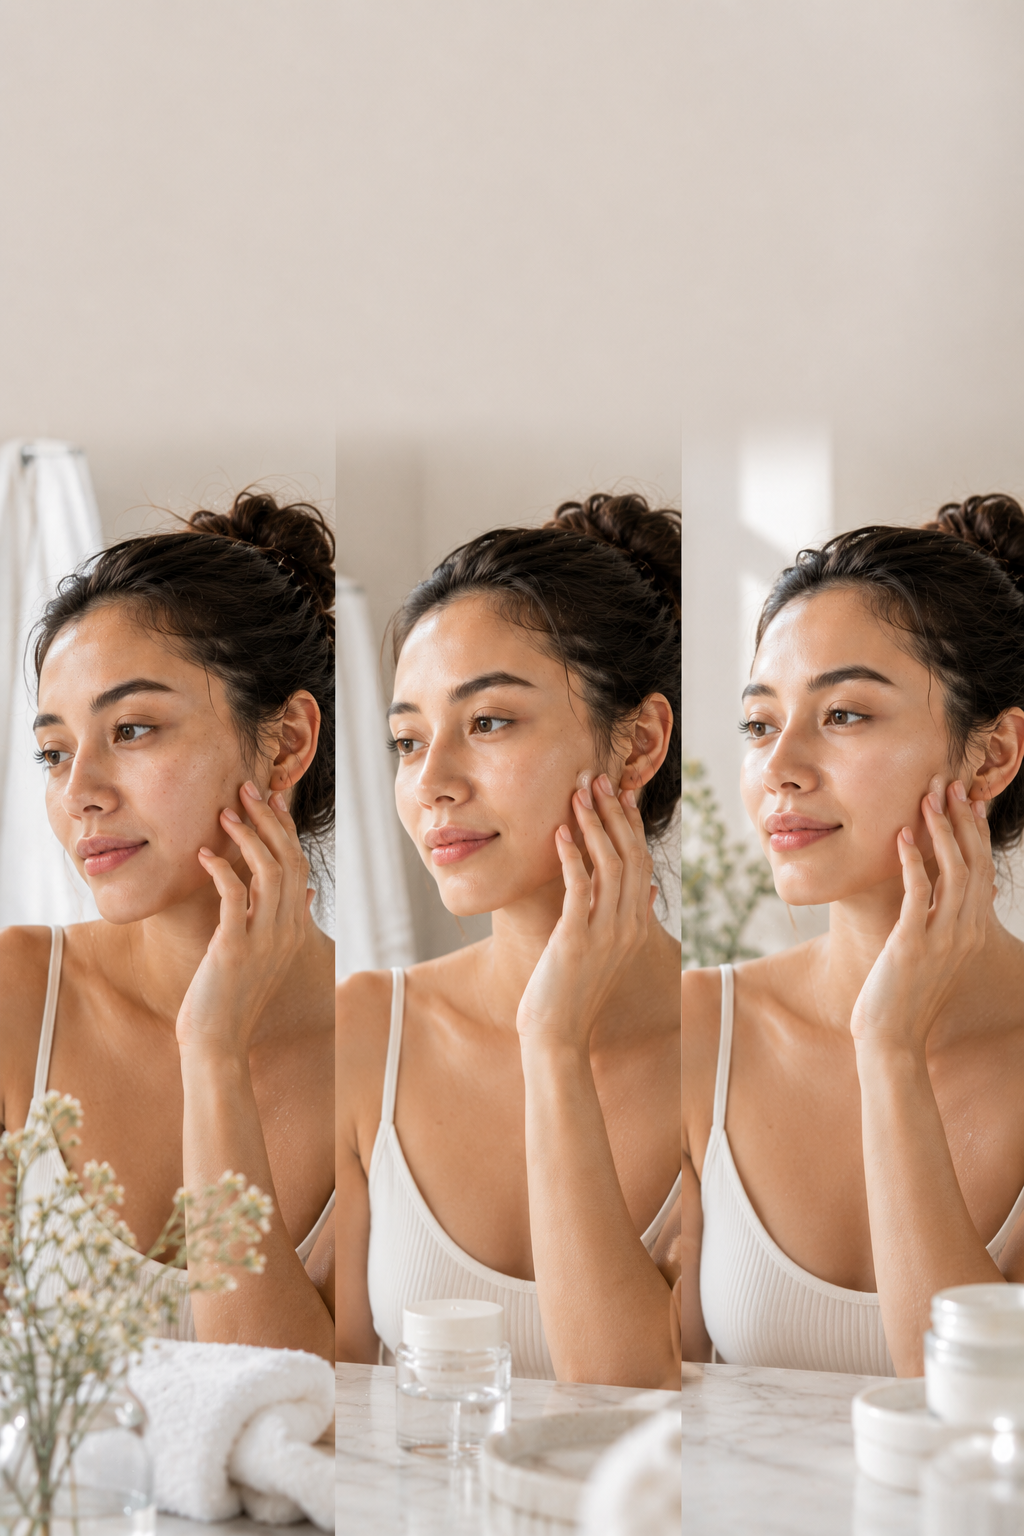
What to expect — a realistic timeline
Week 1–2: Your skin adjusts. Some people experience a brief purge (minor breakouts) as exfoliation starts clearing congestion. This is normal and temporary. Your skin should feel more comfortable and clean fairly quickly.
Week 3–4: Hydration levels noticeably improve. Skin feels softer and plumper. The tight, dry feeling after washing disappears if it was there. Others start noticing something looks different even if they can’t name it.
Week 6–8: This is where the niacinamide effect becomes visible. Dark spots are fading. Pores look smaller. Skin tone is more even. The glow is real — not glittery, not greasy, just genuinely luminous.
Month 3+: This is glass skin. Consistent, healthy, reflective skin that requires maintenance but no longer requires effort because the routine is just habit now.
The most important thing I can tell you about this timeline: consistency beats intensity every single time. A simple routine done every day for three months will outperform an elaborate routine done sporadically every time.
The three mistakes that kill glass skin before it starts
1. Over-exfoliating. More is not better. If you exfoliate daily or use multiple acids at once, you will damage your skin barrier — and a damaged skin barrier cannot achieve glass skin. Twice a week is the ceiling, not the starting point.
2. Skipping SPF. If you do nothing else after reading this post: wear sunscreen every morning. UV damage is cumulative and invisible until it isn’t. Every dark spot, every rough patch, every bit of dullness you’re trying to correct with your skincare routine is being recreated daily if you’re not protecting your skin.
3. Expecting results in a week. Skincare works on your skin’s natural cell turnover cycle, which is approximately 28 days for most adults (longer as you get older). You are not seeing the result of today’s routine today — you’re seeing the result of three weeks ago. Give it time before deciding something isn’t working.
FAQs: Glass skin for beginners
Do I need to follow Korean skincare steps exactly to get glass skin?
No. The K-beauty ten-step routine is the origin of glass skin, but the principle behind it — consistent hydration, gentle exfoliation, and skin barrier support — doesn’t require ten steps to achieve. The five steps above hit every key principle. More steps don’t automatically mean better results.
Can I get glass skin if I have acne or large pores?
Yes. Glass skin isn’t about being blemish-free — it’s about skin health and luminosity. Niacinamide specifically helps minimise the appearance of pores and reduce acne-related inflammation. The double cleanse prevents the congestion that leads to breakouts. You don’t need perfect skin to start, and the routine itself will help improve the things you’re concerned about.
My skin is oily — won’t moisturiser make it worse?
This is one of the most persistent skincare myths. Oily skin is often dehydrated skin — the oil is your skin’s attempt to compensate for a lack of moisture. When you hydrate properly, your skin stops overproducing oil because it no longer needs to. Use a lighter moisturiser (Hydro Boost Water Gel is ideal for oily skin) and stick with it for at least 4 weeks before deciding it isn’t working.
Can I use vitamin C and niacinamide together?
Yes — the reaction between them that causes flushing is rare and harmless, and many modern formulas combine them specifically. If you want to be cautious: vitamin C in the morning, niacinamide at night. Both working at different times is still both working.
How long until I see results?
Realistically: 4–6 weeks of consistent use before you see meaningful change. Some people notice texture and hydration improvements within 2 weeks. The brightening and pore-minimising effects of niacinamide take longer. If you’re not seeing anything at the 8-week mark, something in your routine needs adjusting — most often it’s the moisturiser not being hydrating enough, or SPF being skipped.
What’s the single most important step if I can only do one?
Moisturiser plus SPF. Protecting your skin from UV damage and keeping it hydrated is the foundation of everything. If you can only manage one step in the morning, make it moisturiser with SPF. The rest builds on that.
One last thing
Glass skin is not a destination. It’s not a filter you apply to your face and then maintain anxiously forever.
It’s just what happens when you take care of your skin consistently, in small ways, every day. Five steps. Gentle products. Patience.
The glow you’re looking for isn’t hiding behind an expensive serum or a ten-step routine. It’s just underneath the surface, waiting for consistent care to let it out.
Start tonight. Start with whatever you have. Add as you go.
Your skin is already worth taking care of — not because of what it could become, but because you live in it every day.
Want to know which foods make your skincare work better from the inside? [Here’s what to eat for glass skin — the diet piece most routines completely ignore.]
And if your skin has been dull and flat no matter what you try, [here’s what’s actually causing it — and how to fix it.]
Already dealing with stress skin — breakouts, dullness, or dryness that gets worse when life gets harder? [Here’s the cortisol connection your routine is missing.]
Category: Skincare & Beauty
© Polia.blog — Written with love and honesty, always.
Related posts:
 Plump & Perfect: 18 Natural Ways to Get Fuller Lips Without Fillers! 💋✨
 🌸 21 Effortlessly Chic Spring Outfits You’ll Want to Wear All Season Long (trend Edition)
 ✨ 17 Balayage Ideas for Long, Layered Brunette Hair with Face Framing ✨
 How Colors Can Instantly Transform Your Look and Boost Your Confidence ✨